I started making this chia seed jam recipe years ago when I wanted a quick way to prepare homemade jam without the hassle of canning or cooking it for hours on the stove. Since then, it has become one of my favorite meal prep staples, especially because I can make it any season with whatever frozen fruit I have on hand. I keep a jar in the fridge to enjoy with breakfasts and snacks, adding a fruity flavor to my food without all the sugars found in store-bought jams and jellies.
Recipe Highlights
Refined sugar-free: Unlike sugar-free store-bought jams that contain heaps of added sugars in the form of sugar, corn syrup, sucrose, etc., this chia seed jam is naturally sweetened with just a touch of maple syrup and has just 3 grams of sugar per 2 tablespoons, letting the flavor of the berries shine through.
A healthful alternative to store-bought jam: Chia seeds add fiber and healthy fats while berries add natural sweetness, even more fiber, and nutrients for a spread I feel good about serving my kids.
Stores well: Once cool, the jam keeps fresh in the fridge for days, meaning it’s great to prep in advance. I often make an extra large batch, keeping some for myself and giving the rest to friends and family, especially during the holidays. A jar of jam wrapped with ribbon makes for the perfect edible Christmas gift.
Ingredient Notes And Substitutions
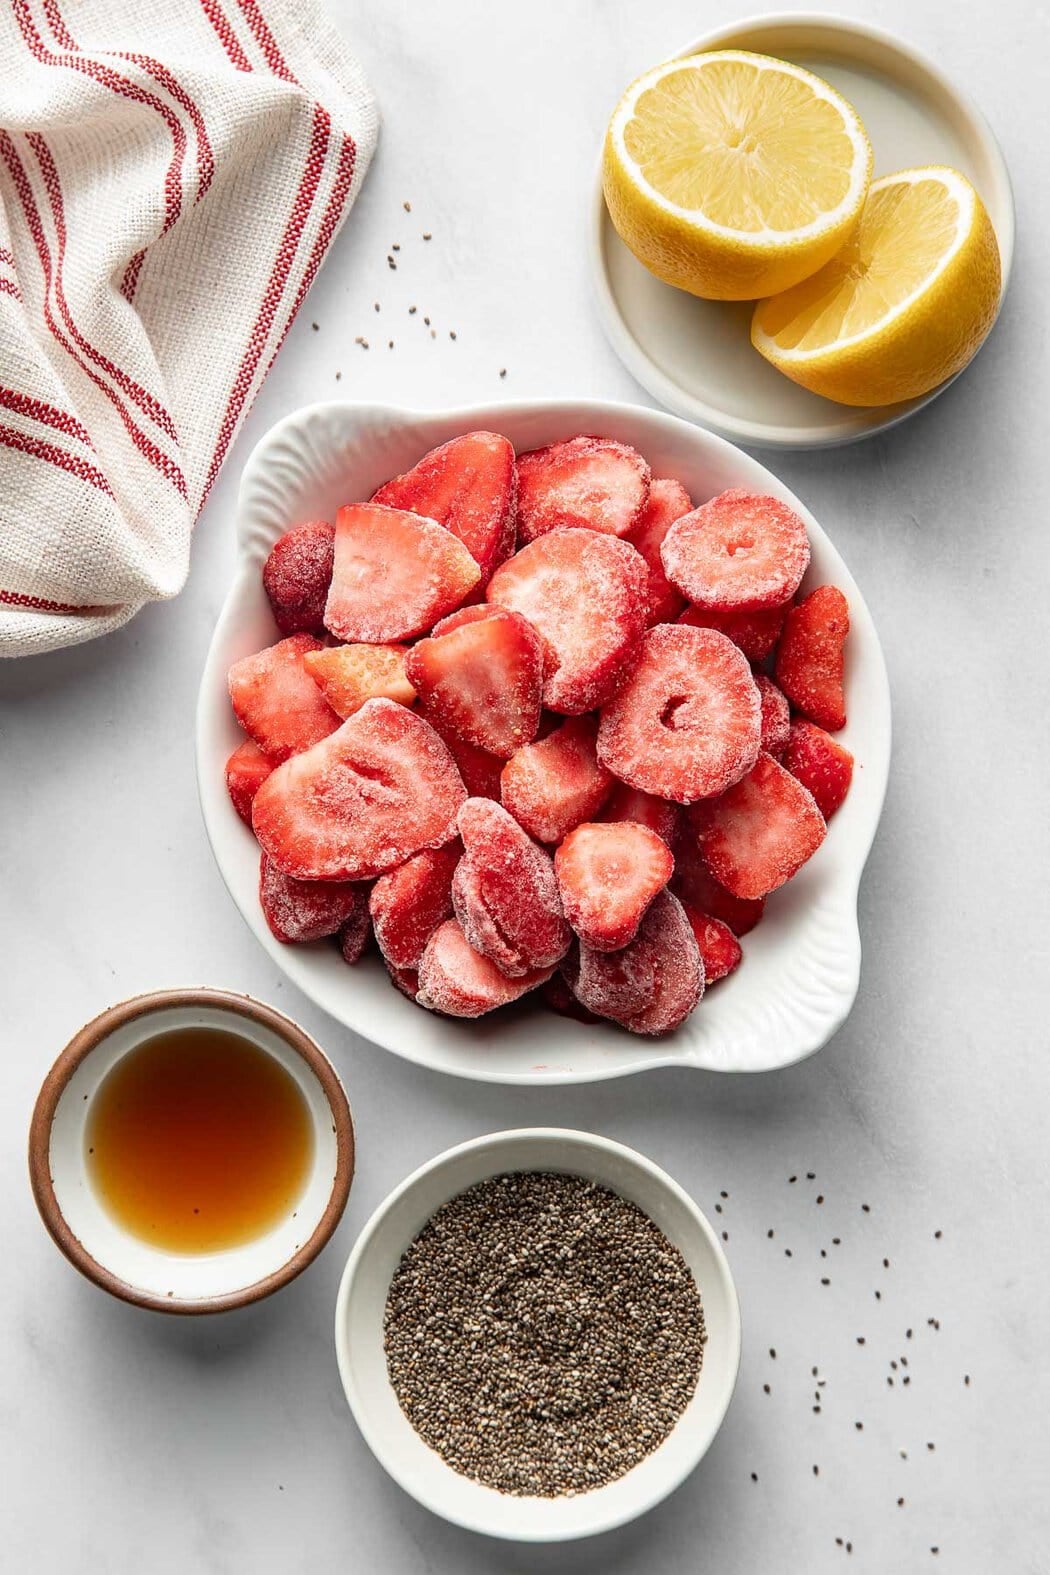
One of my favorite things about this chia seed jam is the simplicity of the ingredients. Traditional jams contain pectin, additives, and preservatives, but this recipe comes together with just five whole food ingredients:
- Frozen strawberries: I use 2 cups of frozen strawberries, which is about 10 ounces. I’ve also used frozen blueberries, blackberries, raspberries, mixed berries, sliced frozen peaches, or mangoes. I don’t recommend using fresh fruit as it does not contain enough liquid, which is needed to create a thick consistency.
- Chia seeds: Chia seeds naturally thicken the jam as it cools, eliminating the need for pectin. They also add fiber, omega-3 fatty acids, and a boost of plant-based nutrition.
- Lemon juice: I adjust the lemon juice to taste, using more if the berries are sweet or less if they are tart. I also like to add a little lemon zest to give the jam an extra lemony flavor while reducing food waste. It’s optional, but I recommend trying it at least once. Orange juice can be substituted for lemon juice for a different and sweeter flavor. I like to use OJ if my berries are particularly tart.
- Liquid sweetener: I prefer the milder flavor of maple syrup, but it can be replaced with honey as a natural sugar. I’ve also tested this recipe with other liquid sweeteners, like agave nectar and brown rice syrup, both of which are good alternatives that add sweetness while keeping the jam vegan.
Find the ingredient list with exact measurements in the recipe card below.
Try Different Flavors
I’ve made this chia jam so many times and with all different types of frozen fruit and berries. It’s great with frozen peaches and mangoes, and a favorite of mine is using frozen mixed fruit. Most often, I enjoy the natural fruit flavor of the jam on its own. But I’ve also tried it with add-ins like ground cinnamon, nutmeg, and dried or freshly grated ginger, which give the jam more layers of flavor and interest. It’s fun to get creative.
How to Make Chia Seed Jam
This easy chia jam comes together in one pot with no canning, boiling, or straining required. Here’s an overview of the process:
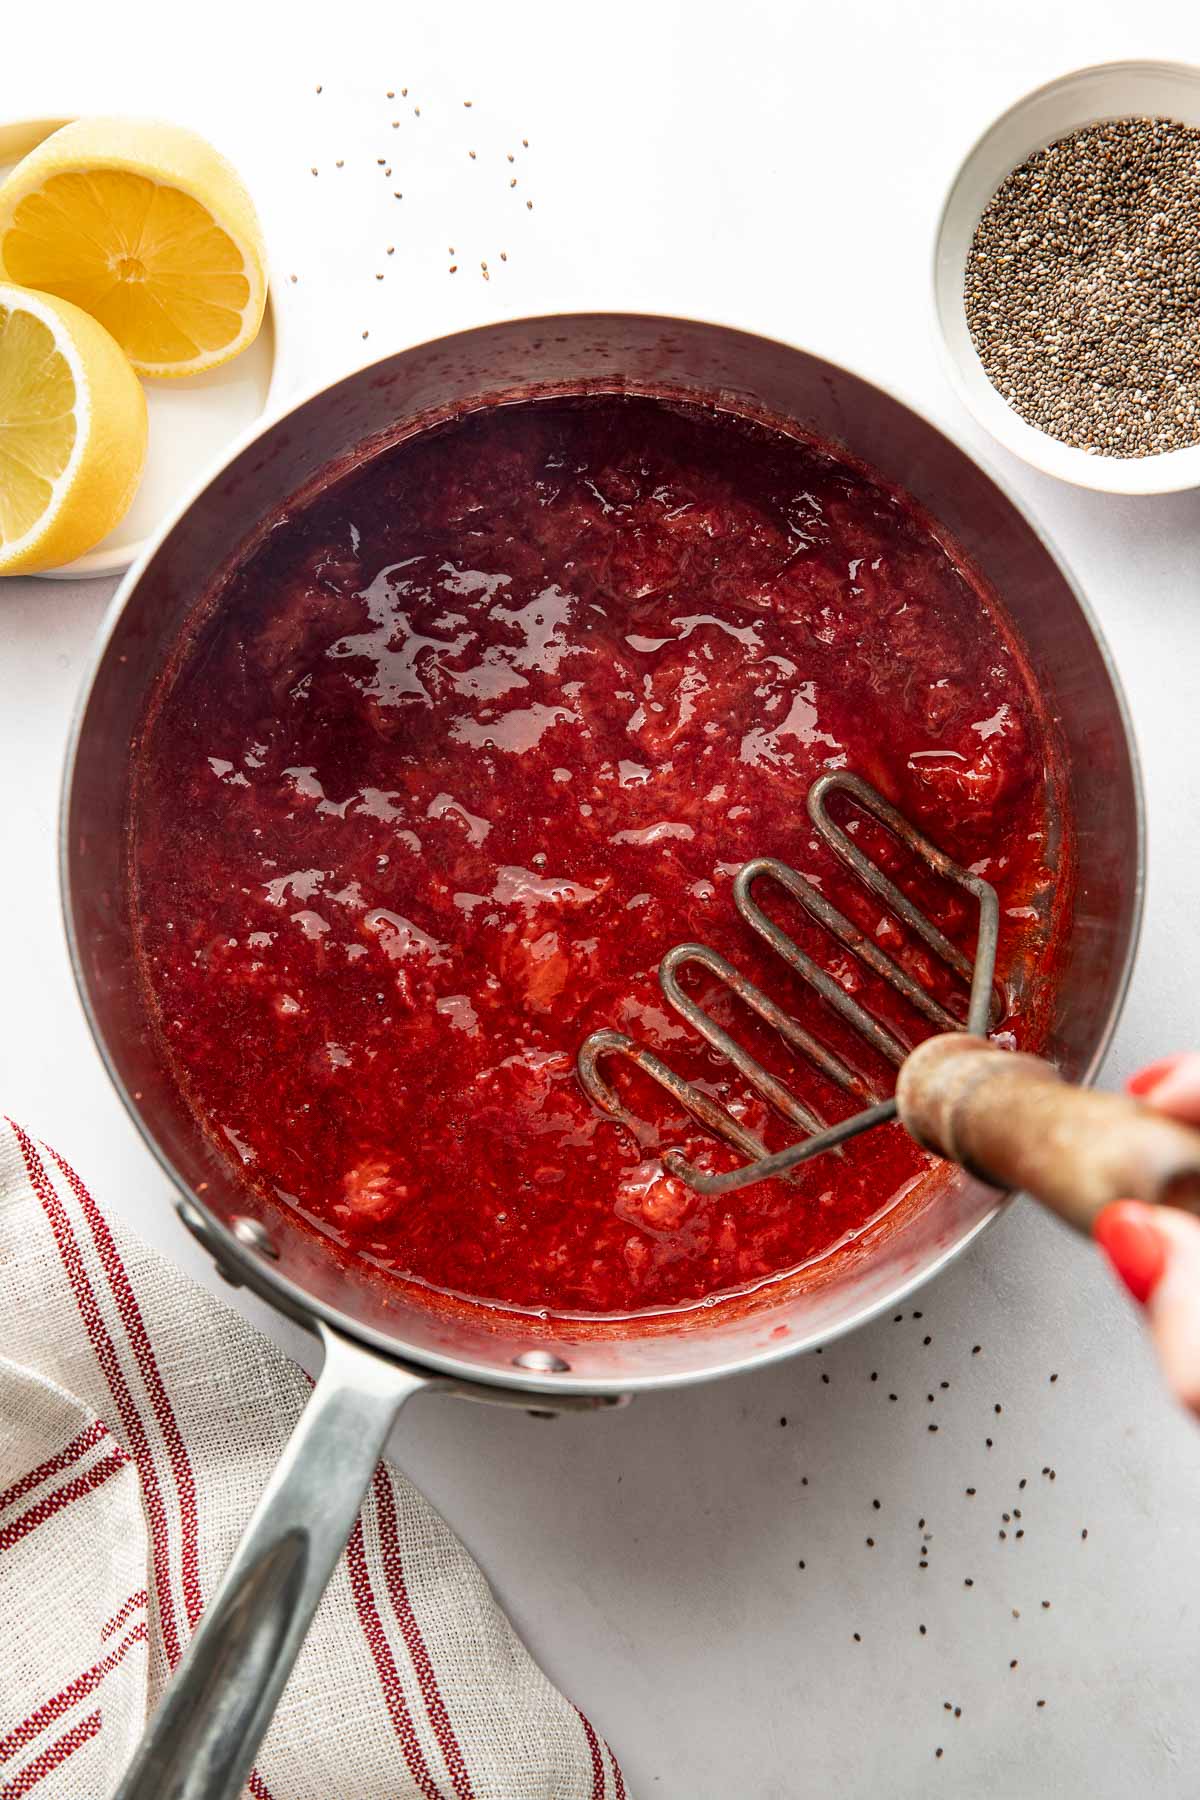
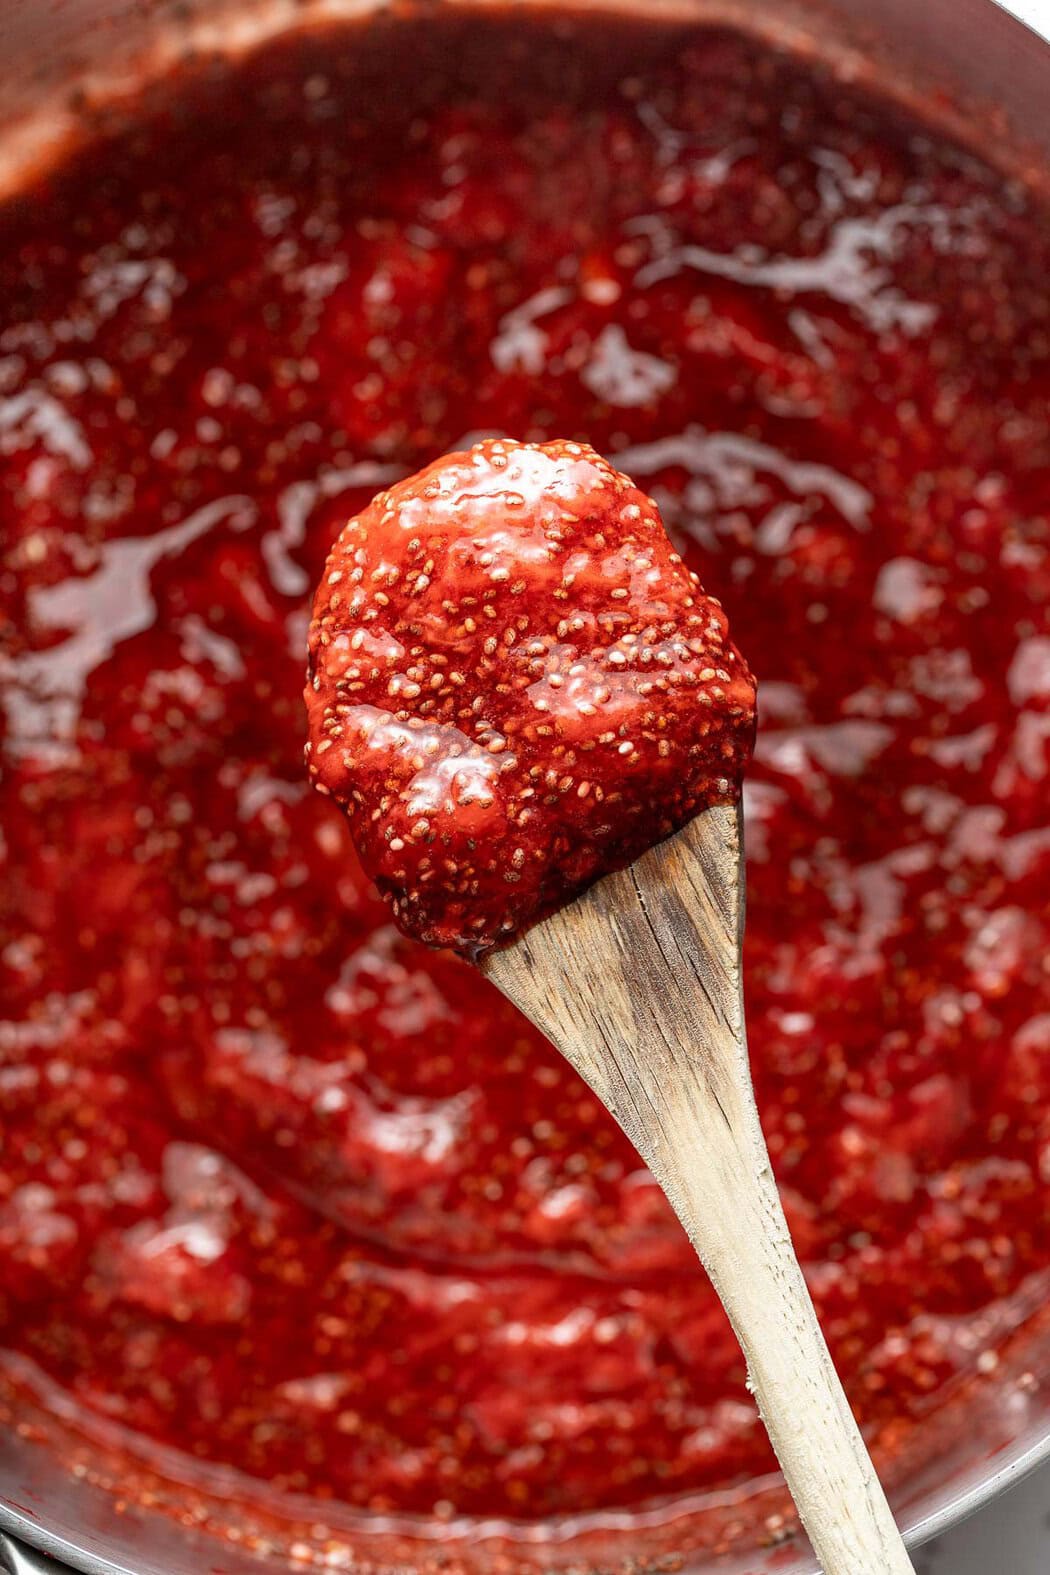
- Cook the berries: Place the strawberries in a saucepan over medium-high heat, cover, and let them cook until they’re bubbling and beginning to break down. I like to stir the berries occasionally to promote even cooking and help them break down.
- Mash the berries: Remove the pan from the heat and mash the berries. I like to use a fork or potato masher and leave a few small chunks for a bit of texture rather than a smooth puree.
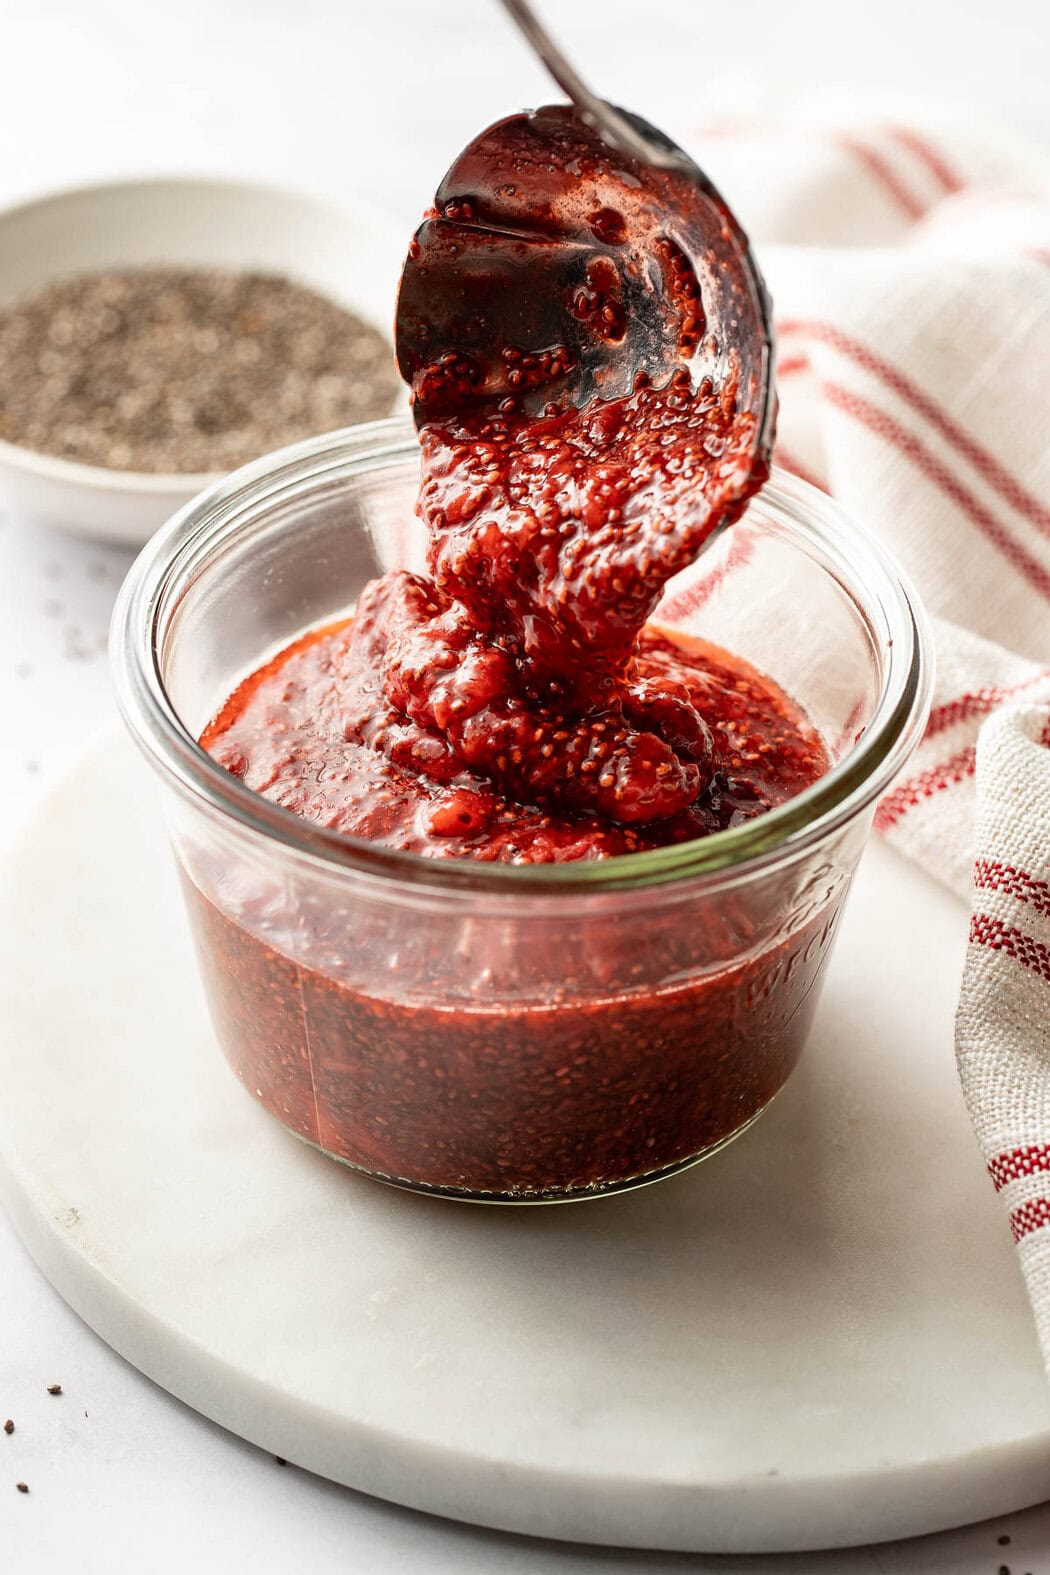
- Combine the ingredients: Stir in the chia seeds, lemon juice, and maple syrup.
- Cool and chill: Transfer the berry mixture to an airtight container, and let it cool at room temperature. Then, cover the container and chill the jam in the fridge. This enhances the flavor and helps achieve the desired consistency, as the jam continues to thicken slightly as it cools.
For serving size and the complete directions and ingredient amounts, scroll down to the recipe card below. All of our recipes include the nutrition analysis, listing calories (kcals), protein, carbohydrates/carb, fiber, sugar, sodium, cholesterol, and more per serving.
Equipment To Have On Hand
This recipe doesn’t require any fancy equipment or canning equipment, like other jam recipes do. Here are the helpful tools I use:
- Medium saucepan: For cooking the fruit until soft, juicy, and easy to mash.
- Fork or potato masher: Helps break down the berries to create the desired jam consistency.
- Measuring spoons: For measuring the chia seeds, lemon juice, and maple syrup.
- Glass jar or airtight container: Perfect for storing the jam while it cools and for keeping leftovers fresh in the refrigerator. Weck jars are my favorite vessel for storing this recipe, as well as for making protein overnight oats and chia pudding.
- Rubber spatula or spoon: Useful for stirring the jam and transferring it to a storage container.

Ways to Use Chia Seed Jam
A classic serving suggestion is to pair this jam with peanut butter to make a healthier PB&J sandwich. However, one of my favorite ways to use this jam is to add it to cottage cheese (just like the Good Culture Strawberry Cottage Cheese cups that are $2.99 a piece).
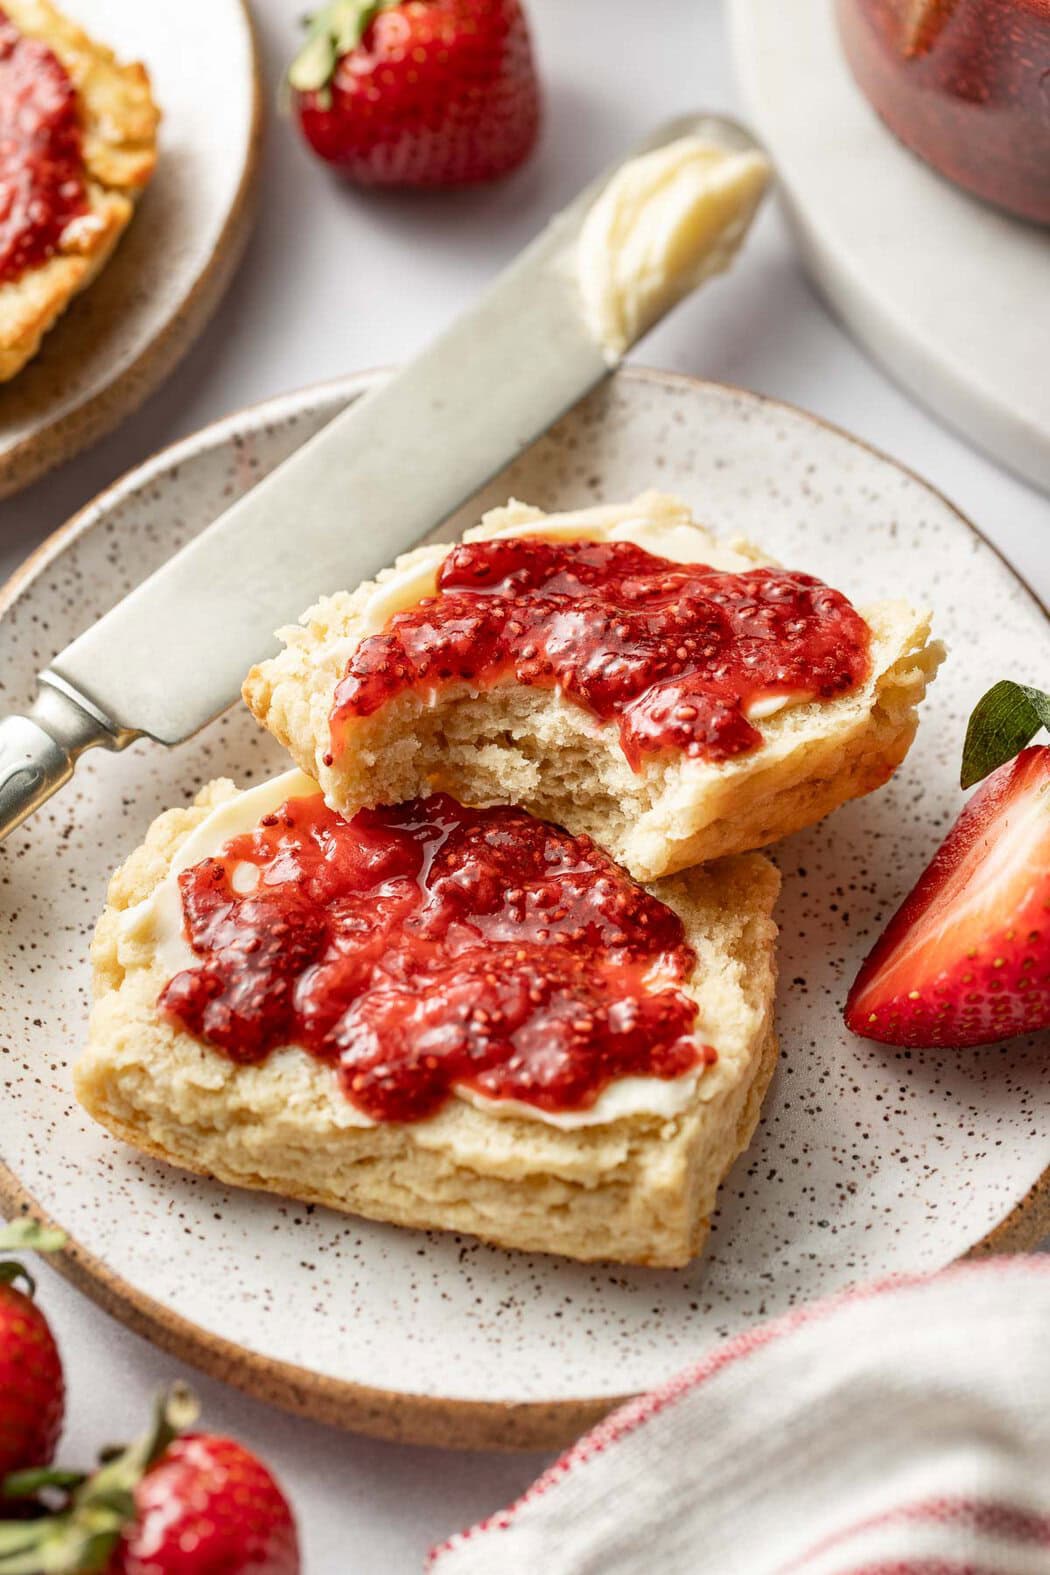
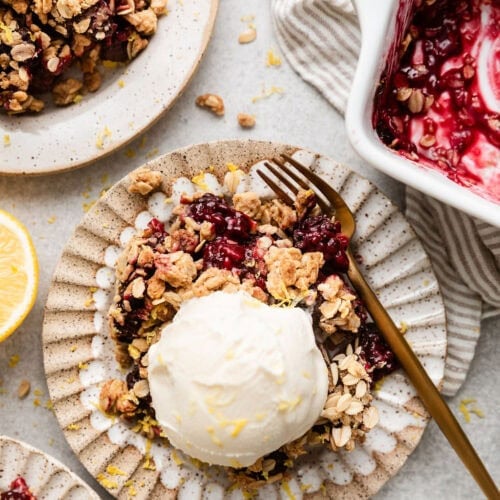
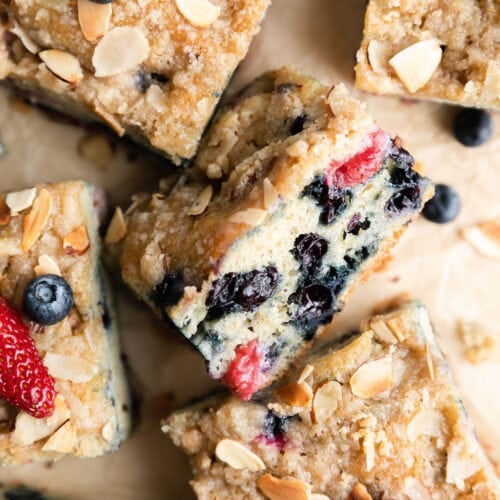
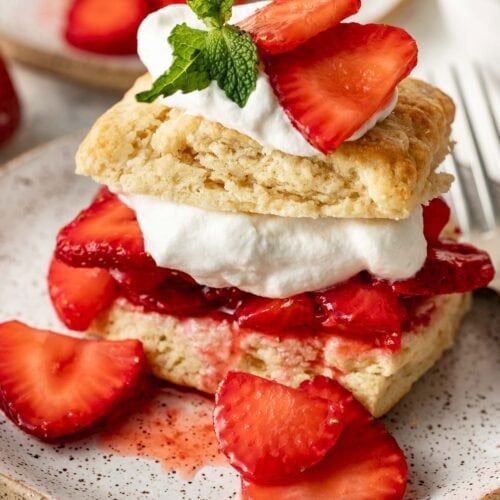
Or, I enjoy it as a condiment spread on whole grain toast or English muffins, flaky biscuits, homemade protein pancakes or gluten-free blender waffles, or stirred into yogurt bowls and topped with homemade granola.
Storage
Transfer cooled jam to a mason jar or airtight container, and store it in the refrigerator for up to 1 week. Personally, I find the texture even better after the jam chills for a day or so, as the jam becomes even thicker in the fridge.
I don’t recommend freezing this recipe, as the texture can become watery and uneven once thawed. Before serving, I always give the jam a quick stir to redistribute the ingredients, and it tastes as good as new.

Want to save this recipe?
Enter your email below & we’ll send it straight to your inbox. Plus you’ll get great new recipes from us every week!
Chia Seed Jam Recipe
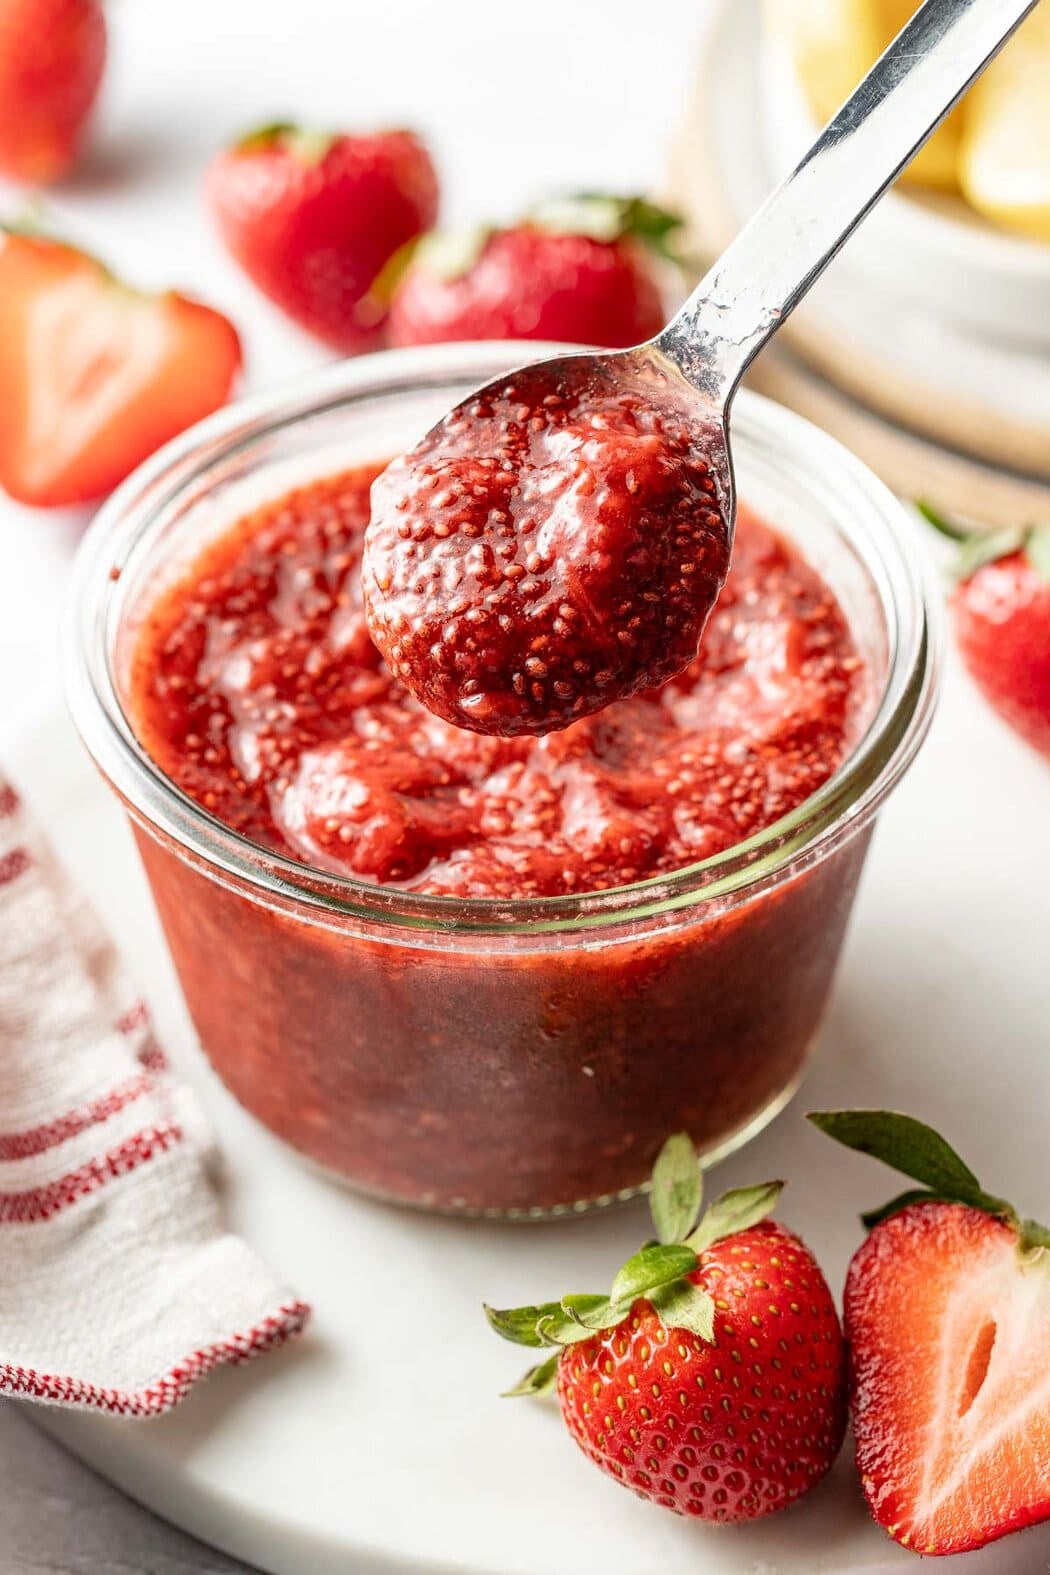
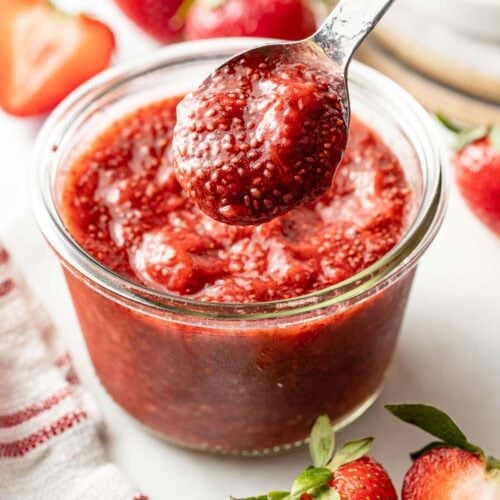
This easy chia seed jam recipe combines frozen fruit, chia seeds, lemon juice, and maple syrup for a thick spread that’s naturally sweetened and full of fruity flavor. Made in one pot on the stove, it’s meal prep friendly, dairy-free, gluten-free, vegetarian, and virtually foolproof to prepare.
Ingredients
- 2 cups frozen strawberries*
- 2 tablespoons chia seeds
- 1 tablespoon lemon juice
- 1 tablespoon pure maple syrup
Instructions
- Place a medium saucepan over medium-high heat.
- Add the frozen strawberries to the pan and cover it with a lid.
- Cook until the berries are heated through, bubbling and starting to break down a bit, about 10 minutes, stirring occasionally.
- Remove the pan from the heat and mash the berries with a fork or potato masher until almost smooth (it’s OK to have some small chunks remaining)
- Stir in the chia seeds, lemon juice, and maple syrup until incorporated.
- Transfer the berry mixture to a jar or other container with a tight fitting lid and allow to cool on the counter for at least 1 hour, uncovered. The jam will continue to thicken as it cools.
- When jam reaches room temperature, stir it again, then cover and refrigerate for up to 1 week.
Last Step! Please leave a review and rating letting us know how you liked this recipe! This helps our business thrive so we can continue providing free recipes and high-quality content for you.
Notes
*May use other types of frozen berries or frozen fruit, such as frozen blueberries, frozen blackberries, frozen raspberries, frozen mixed berries, frozen peaches, or frozen mangos.
May add more or less maple syrup to taste, depending on sweetness preference.
May substitute honey, agave nectar, or brown rice syrup for the maple syrup.
Nutrition Information
- Serving Size: 2 tablespoons
- Calories: 30
- Fat: 1 g
- (Sat Fat: 0 g)
- Sodium: 2 mg
- Carbohydrate: 5 g
- (Fiber: 2 g
- Sugar: 3 g)
- Protein: 1 g
- Cholesterol: 0 mg
Dietary
Recipe Changelog
June 2026: We previously published a version of this recipe that was made with frozen cherries and frozen mango chunks. It was made in a blender and did not include lemon juice or maple syrup. Download the previous version here.
The photos in this post were taken by Megan McKeehan.
For ultimate success, we highly recommend reading the tips in the full blog post above. All photos and content are copyright protected. Please do not use our photos without prior written permission. If you wish to republish a recipe, please rewrite the recipe in your own unique words. Link back to the source recipe here on The Real Food Dietitians. Thank you!
I tried this for the first time today. Since I didn’t read ahead, I did not thaw the fruit first, however the end product was a lovely sorbet!
Can you put this in a water bath to preserve for later? Sounds like a wonderful and healthy way to use fruit!
Hi Karen,
Unfortunately, you can’t water bath it as it’s too low in sugar to be safe during storage. You could possibly pressure can it though I don’t have any experience doing so and would suggest you check in with your local county extension agent to determine if it’s doable.
Thankfully it’s easy enough to make just a little bit at a time and it does keep in the fridge for about a week from my experience.
When you thaw the fruit do you reserve the juice to add to the food processor? Can’t wait to try with the peanut butter jelly bites!
Yes, you do.
Perfect level of sweetness for me and extra easy to prep
Excellent, Susan!