This roasted chicken recipe is my definition of home-cooked meal heaven. The smell is absolutely intoxicating and just screams comfort, and this version takes things a step further than most by nestling the chicken over onions. The onions turn out so incredibly flavorful that my husband and I often eat them straight from the pan while the chicken rests. Ask my kids if this recipe includes onions, and they’d probably have no idea since they usually all get gobbled up before the chicken even makes it to the dinner table.
I often roast a chicken (or two) like this on weekends, serving one for dinner with gravy made from pan drippings gravy, and saving the other for making wraps, salads, and bowls throughout the week.
What Makes This Dish Stand Out
Perfect for meal prep: Roast one or two chickens and use it to make easy meals that are prepped ahead, like salads, wraps, and bowls all week long without getting bored.
Deep, rich flavor from simple ingredients: Roasting the chicken over onions and garlic infuses the poultry with incredible savory flavor and adds depth and richness to the gravy without any extra effort.
Easy protein: This recipe makes such an easy, versatile protein option that always tastes delicious and helps me hit my daily protein goals.
Minimal prep, hands-off cooking: With just a few minutes of prep time required, the oven does all the hard work here, leaving me free to prepare a side or two.
Only A Few Simple Ingredients Are Needed
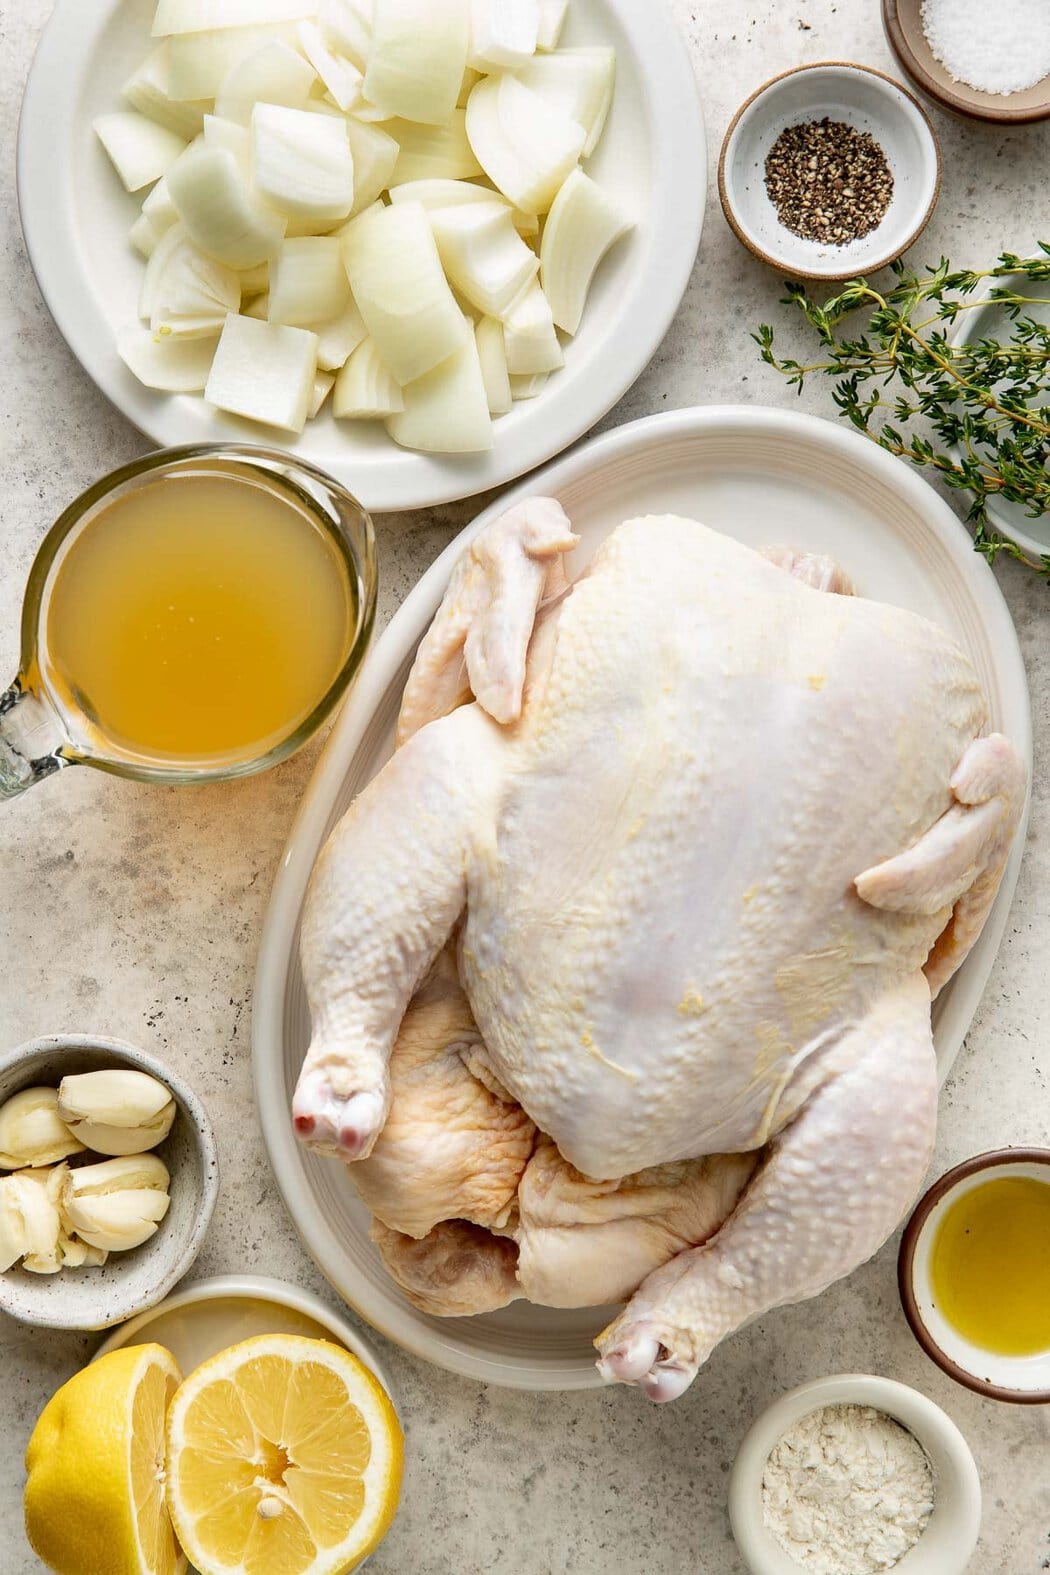
Believe it or not, creating the perfect roast chicken doesn’t require lots of complicated ingredients. Just a few pantry staples are all I use to create incredible flavor. Here are a few of my notes about the key components:
- Whole chicken: The star of the recipe, chicken makes for an excellent source of high-quality protein and provides vitamins and minerals like iron and B vitamins. Look for a 3 ½- to 4-pound chicken. I always read poultry labels when shopping and opt for organic, or pasture-raised chicken if available, for the best flavor and texture. I also make sure the skin is intact, and the chicken feels firm, not slimy.
- Chicken broth: This adds moisture to the pan and helps create flavorful drippings for the gravy. Homemade bone broth or store-bought chicken broth will produce a richer, more savory result, but water also works just fine. If using store-bought chicken stock or broth, I choose a low-sodium option to prevent the chicken and gravy from tasting too salty.
- Yellow onion: Roasting the chicken over onion chunks adds natural sweetness and depth of flavor. As they cook, the onions caramelize in the drippings, creating incredibly tender, flavorful bites. Choose a firm onion with no soft spots or sprouting.
- Seasonings and aromatics: Simple seasonings, such as salt, pepper, garlic cloves, lemon, and herbs—such as sprigs of fresh rosemary or thyme—add a boost of flavor while allowing the natural taste of the chicken to shine.
- Flour: I use all-purpose flour or a 1:1 all-purpose gluten-free flour, such as King Arthur 1:1 Gluten-Free Flour, to create a thick gravy with the leftover pan drippings. It’s the perfect addition to the meal and ensures nothing goes to waste.
Find the ingredient list with exact measurements in the recipe card below.
Kitchen Equipment
This recipe doesn’t require fancy equipment or a rotisserie oven. Here’s what I use:
- Dutch oven, roasting pan, or large oven-safe skillet: Any of these will work for roasting the chicken. I personally use a large enamel-coated oven-safe cast-iron skillet because it distributes heat evenly and helps keep the chicken juicy. However, a roasting pan or Dutch oven works great, too. Just make sure it’s large enough to comfortably fit the chicken and still have some space around it for airflow.
- Cutting board and sharp knife: I use these to cut the onion into large chunks and smash the garlic cloves. A sharp knife makes prep quicker and ensures clean cuts for even cooking.
- Kitchen twine: This is optional, but I like to use kitchen twine to tie the chicken legs together, which is called “trussing” the chicken. It helps the chicken cook more evenly and prevents the legs from overcooking or burning.
- Aluminum foil: I use foil to loosely tent the chicken while it rests after roasting. This helps retain heat without trapping too much steam, so the skin stays slightly crisp.
- Instant-read meat thermometer: This is the most reliable way to ensure the chicken is cooked through. I insert it into the thickest part of the breast to check that it has reached 165°F.
- Small saucepan or skillet: I use this to cook the pan drippings with flour and broth when making gravy.
How To Make A Whole Oven-Roasted Chicken
Here’s how I make the best roast chicken in the oven:
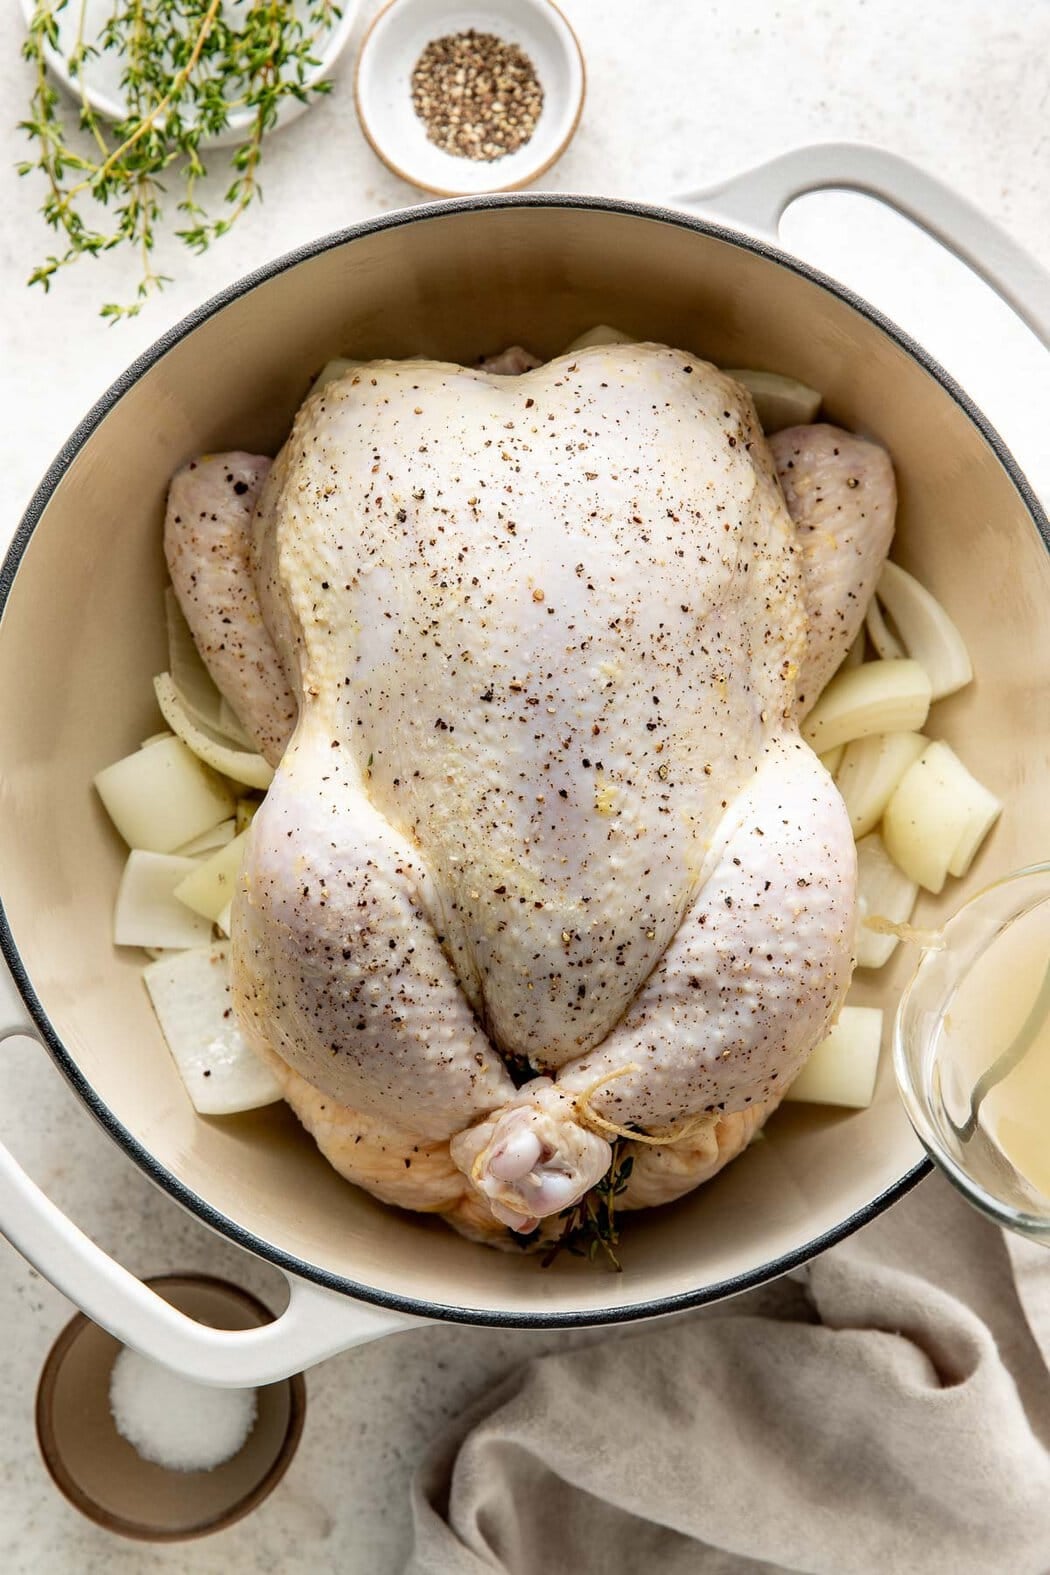
- Prepare the chicken: Remove all the packaging and giblets, and pat the chicken dry with paper towels. This helps create a delicious crispy skin. Next, arrange the onion and garlic in the bottom of the pan. I like to place the pan on a baking sheet so it’s easier to take in and out of the oven.
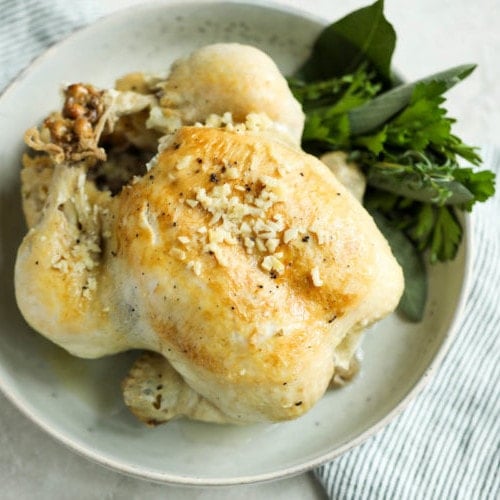
- Season the chicken: Rub oil all over the chicken. I do this with my hands so I can make sure to get in every little crevice. Then, place the chicken on top of the onions, and season it with salt and pepper. If using the lemon and herbs (I always do), tuck them into the cavity of the chicken, similar to preparing my whole turkey recipe.
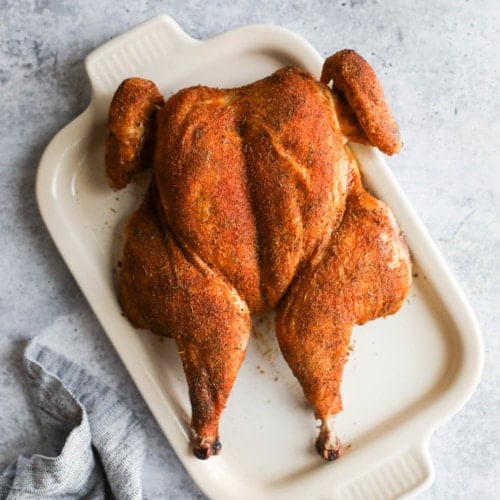
- Truss the chicken: This step is optional, but I like to position the chicken breast side up, tuck the wings under the chicken, and tie the legs together. Or, I truss the chicken using kitchen twine. This promotes even cooking and prevents the legs from burning.
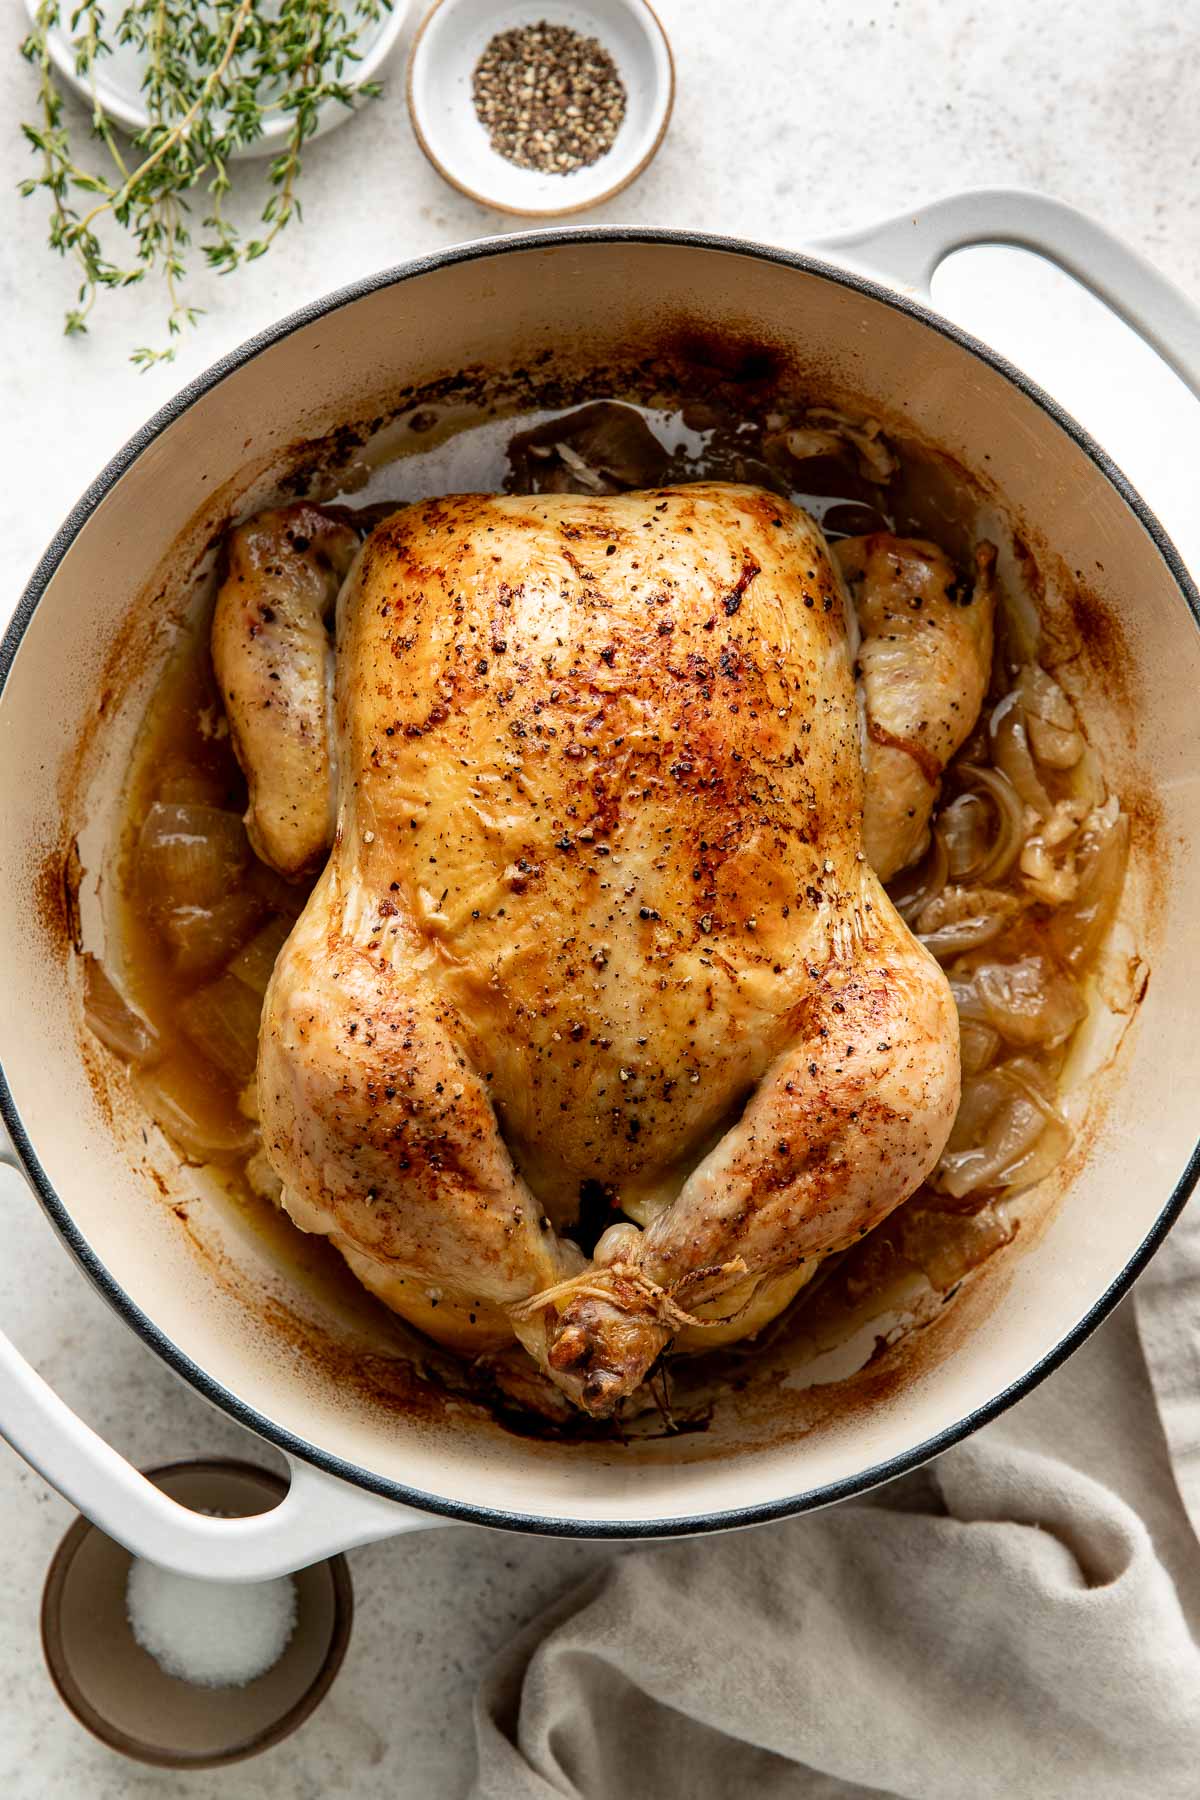
- Bake: Add water or broth to the pan, and roast the chicken until the internal temperature reaches 165°F when an instant-read thermometer is inserted into the thickest part of the breast, and the juices run clear. I don’t find it necessary to baste the chicken while roasting. As a rule of thumb, I allow for 20 minutes per pound. However, the exact cooking time will vary depending on the oven and the size of the chicken. So, keep an eye on the oven and adjust as needed.
- Rest: Once cooked, I transfer the roasted chicken to a cutting board, tent it with aluminum foil, and allow it to rest at room temperature before serving. This locks in moisture and allows the natural juices to redistribute, keeping the meat tender and juicy.
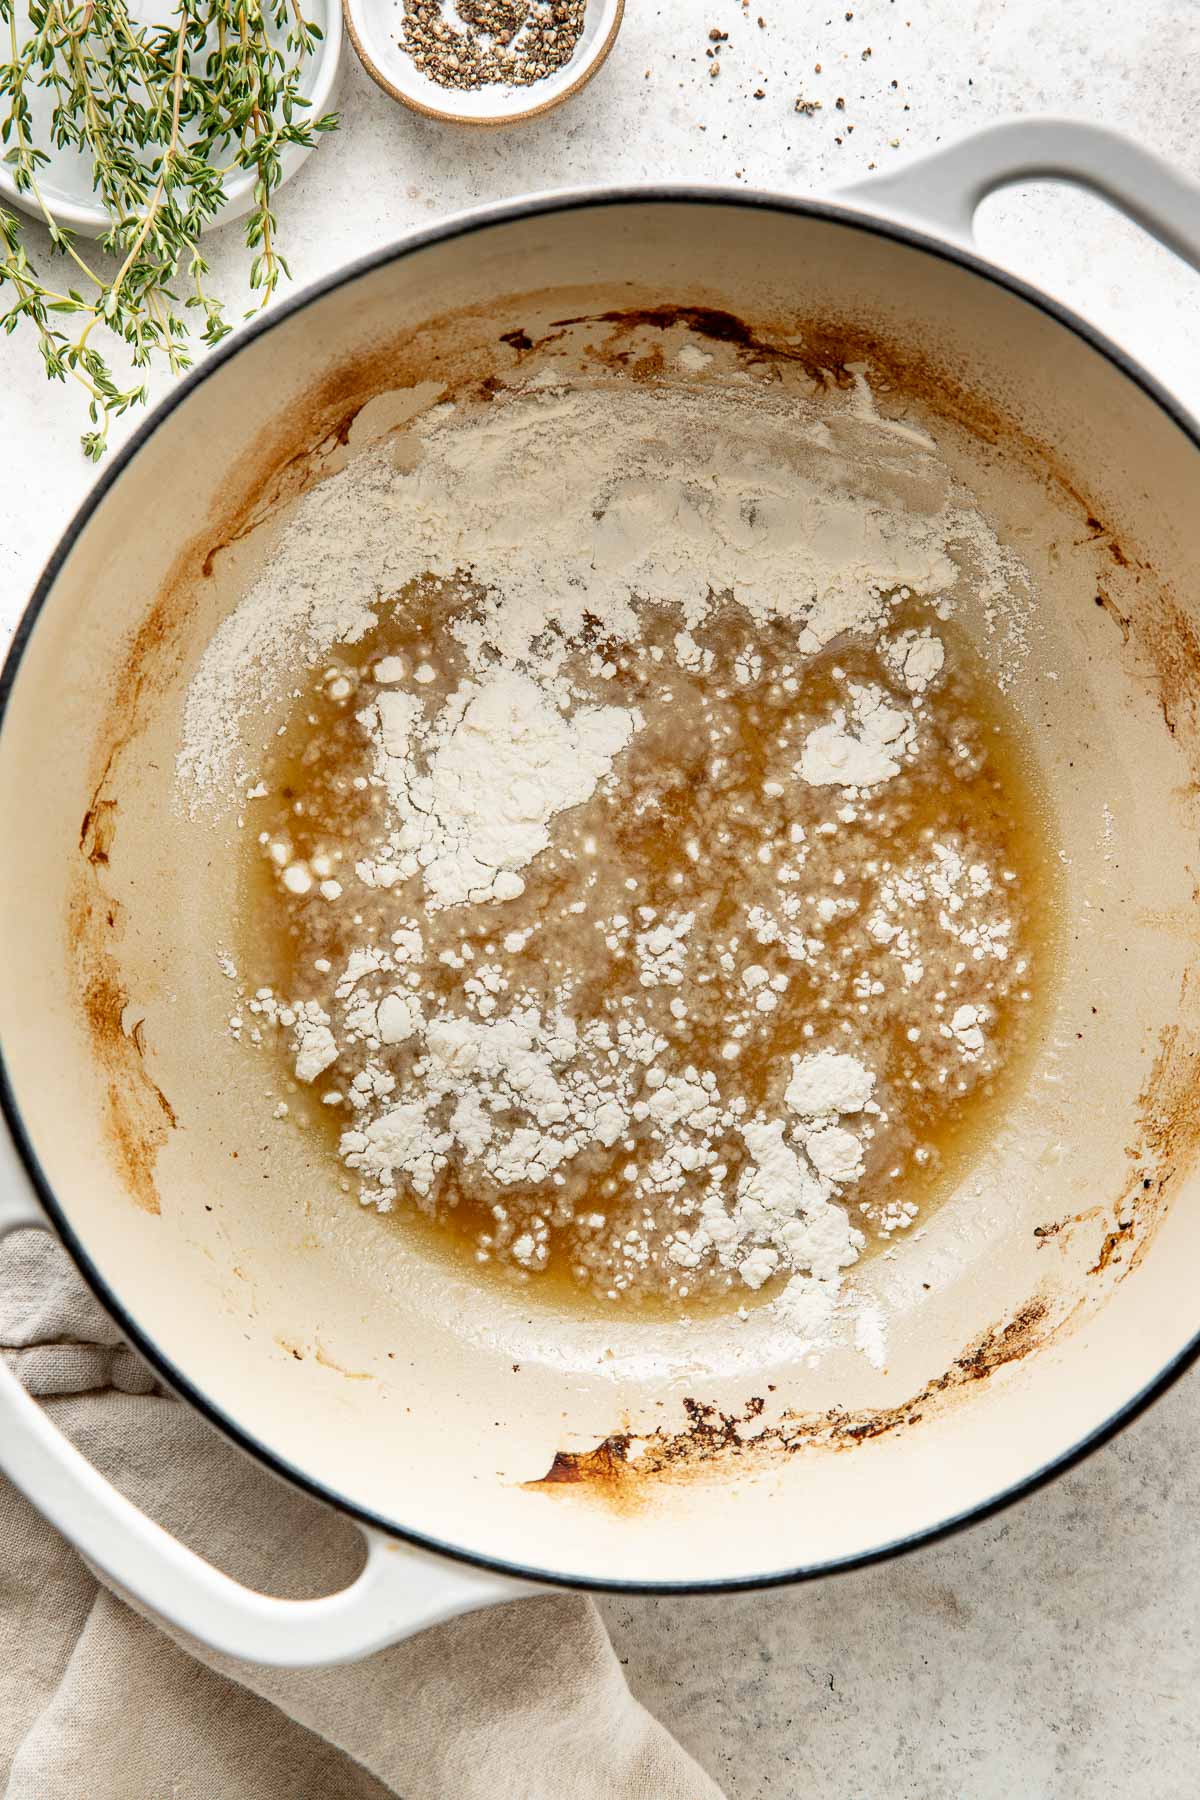
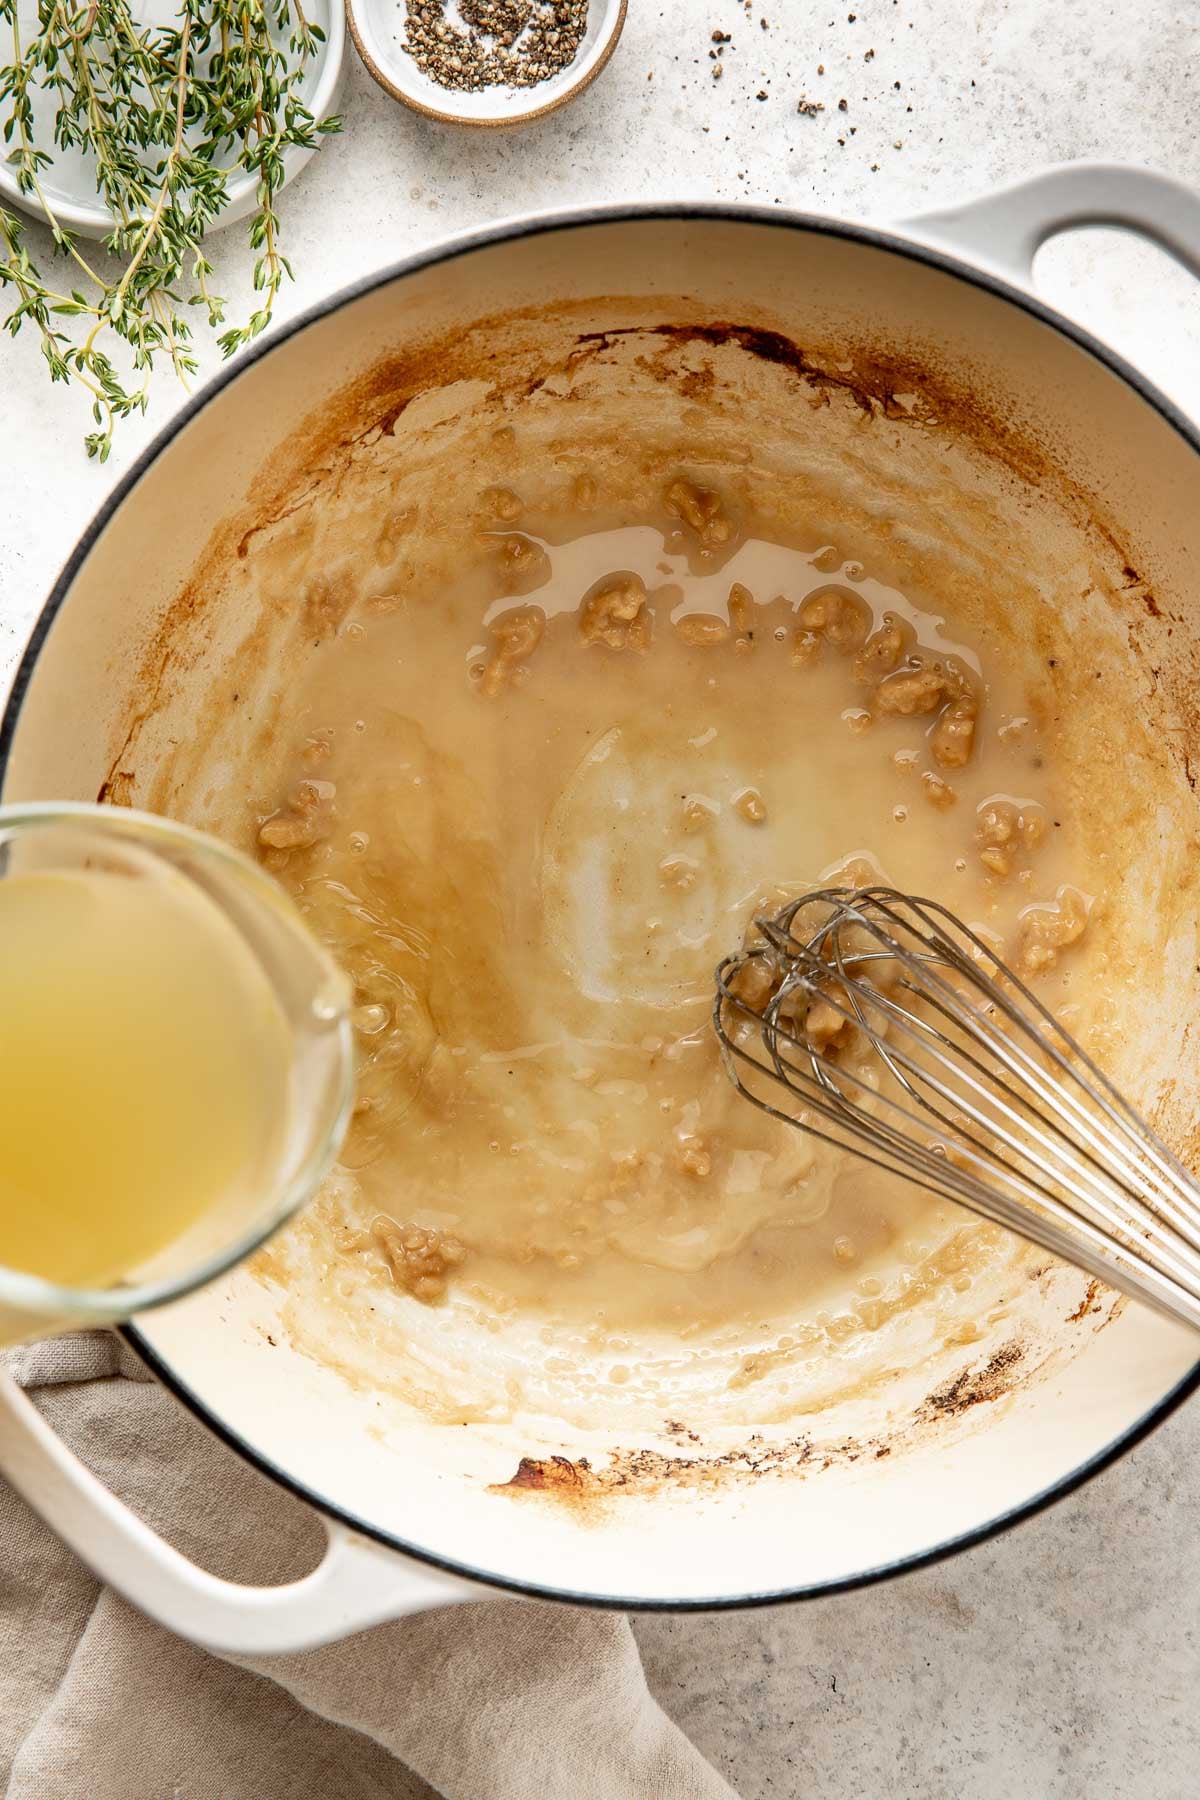
- Prepare the gravy: While the chicken rests, I pour the pan drippings into a small measuring cup and let them cool slightly. Once the fat and drippings separate, I spoon some of the fat from the top and warm it in a pan over medium heat. Once hot, I sprinkle flour over the drippings and whisk until a thick paste-like mixture forms, and continue whisking until the flour is golden brown. Then, I slowly add the broth, whisking constantly, and cook until the gravy thickens.
For serving size and the complete directions and ingredient amounts, scroll down to the recipe card below. All of our recipes include the nutrition analysis, listing calories (kcals), protein, carbohydrates/carb, fiber, sugar, sodium, cholesterol, and more per serving.
Time To Plate!
This is one of my favorite meals to make for Sunday dinners, casual family gatherings, or anytime I want something warm and comforting without a lot of effort. It’s also great for holidays or when hosting, since it looks impressive but is surprisingly easy to pull together.
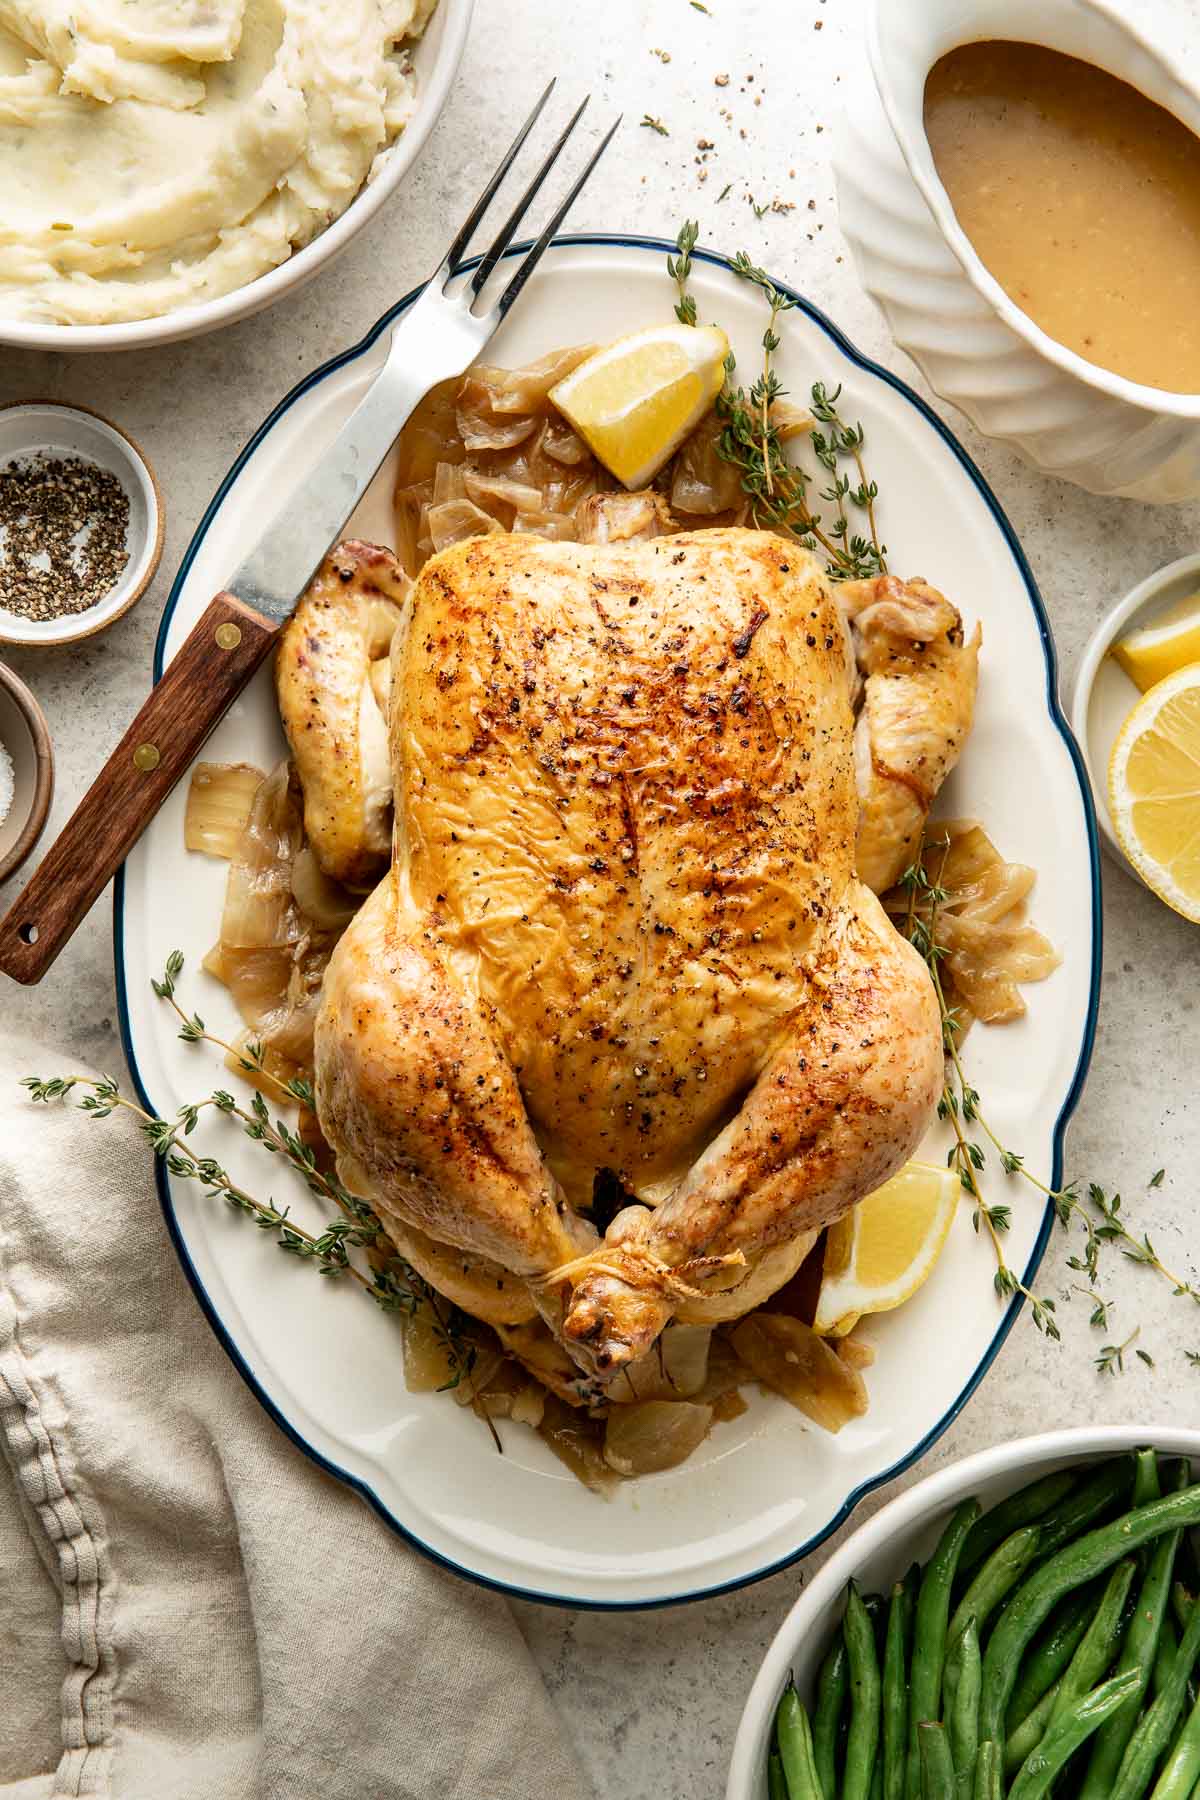
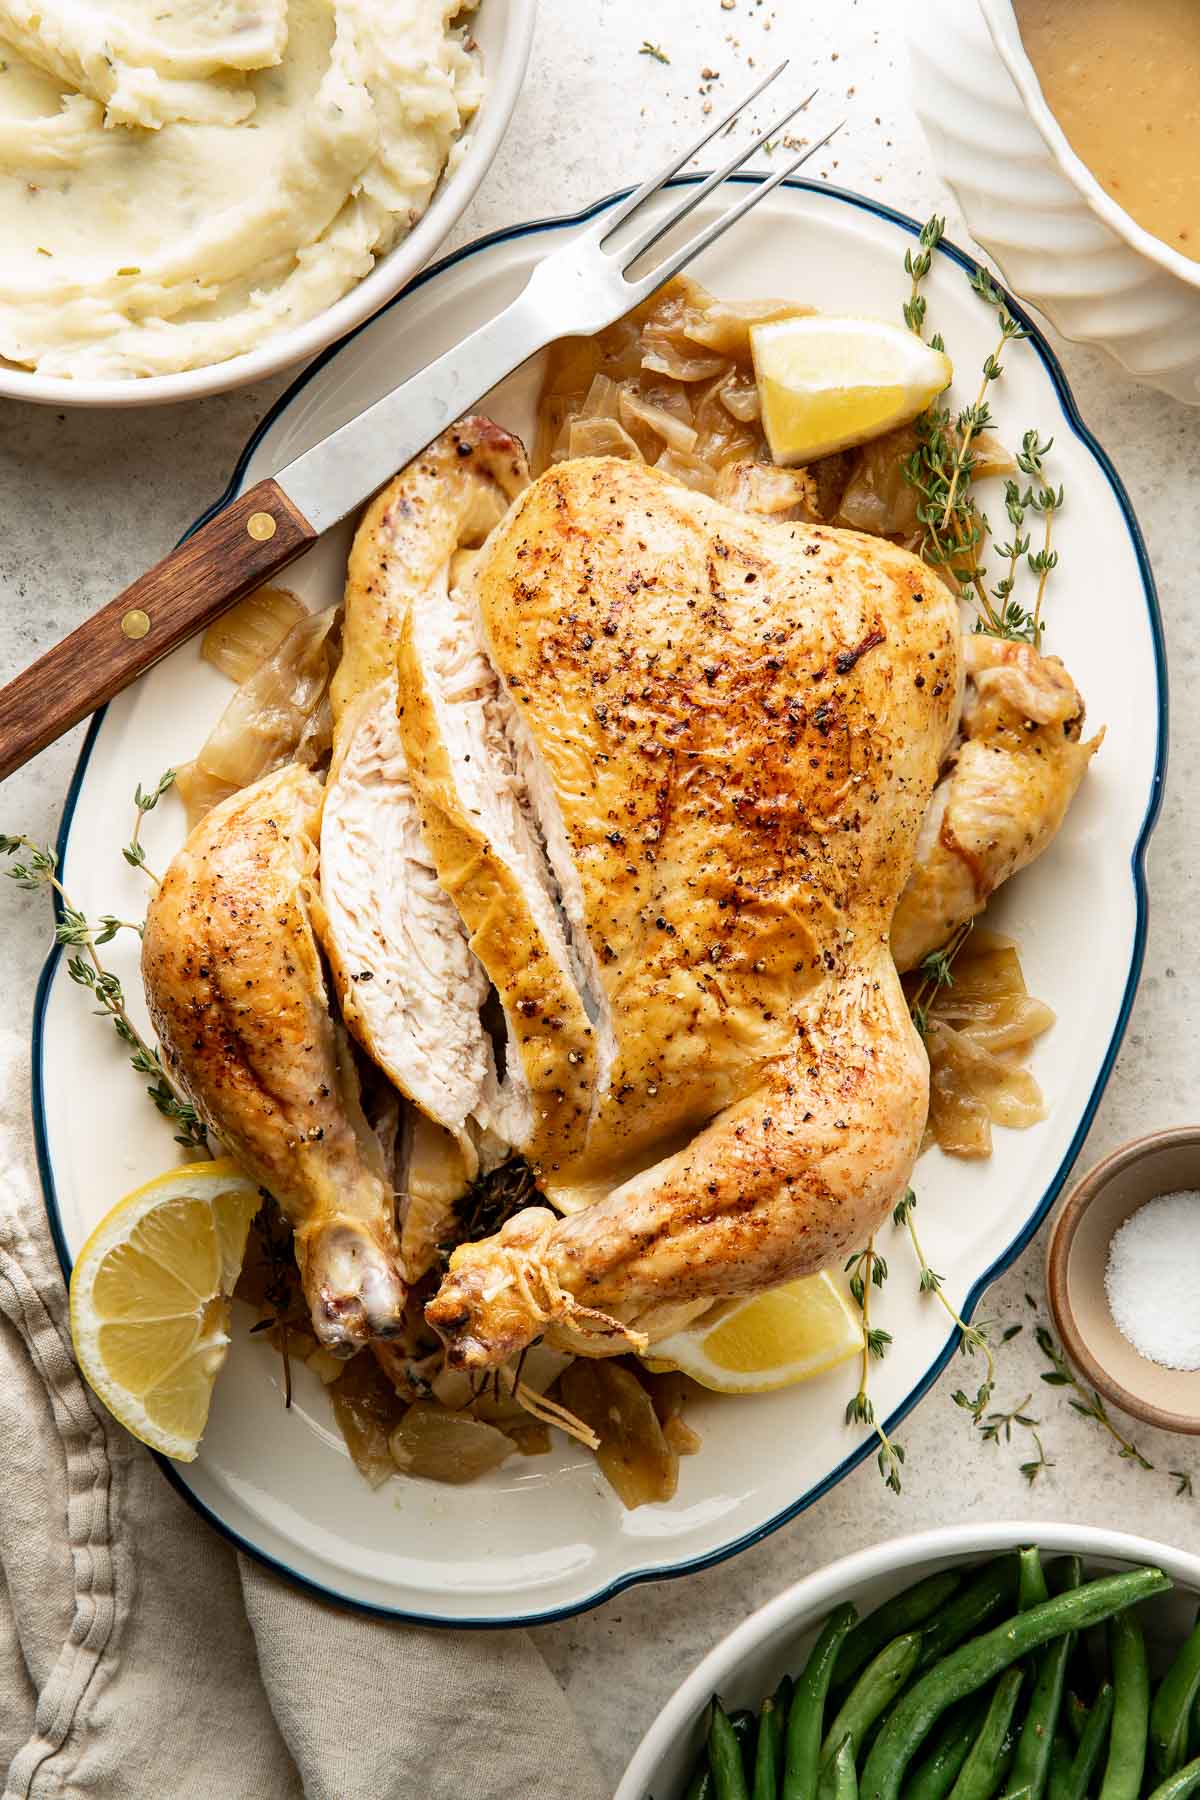
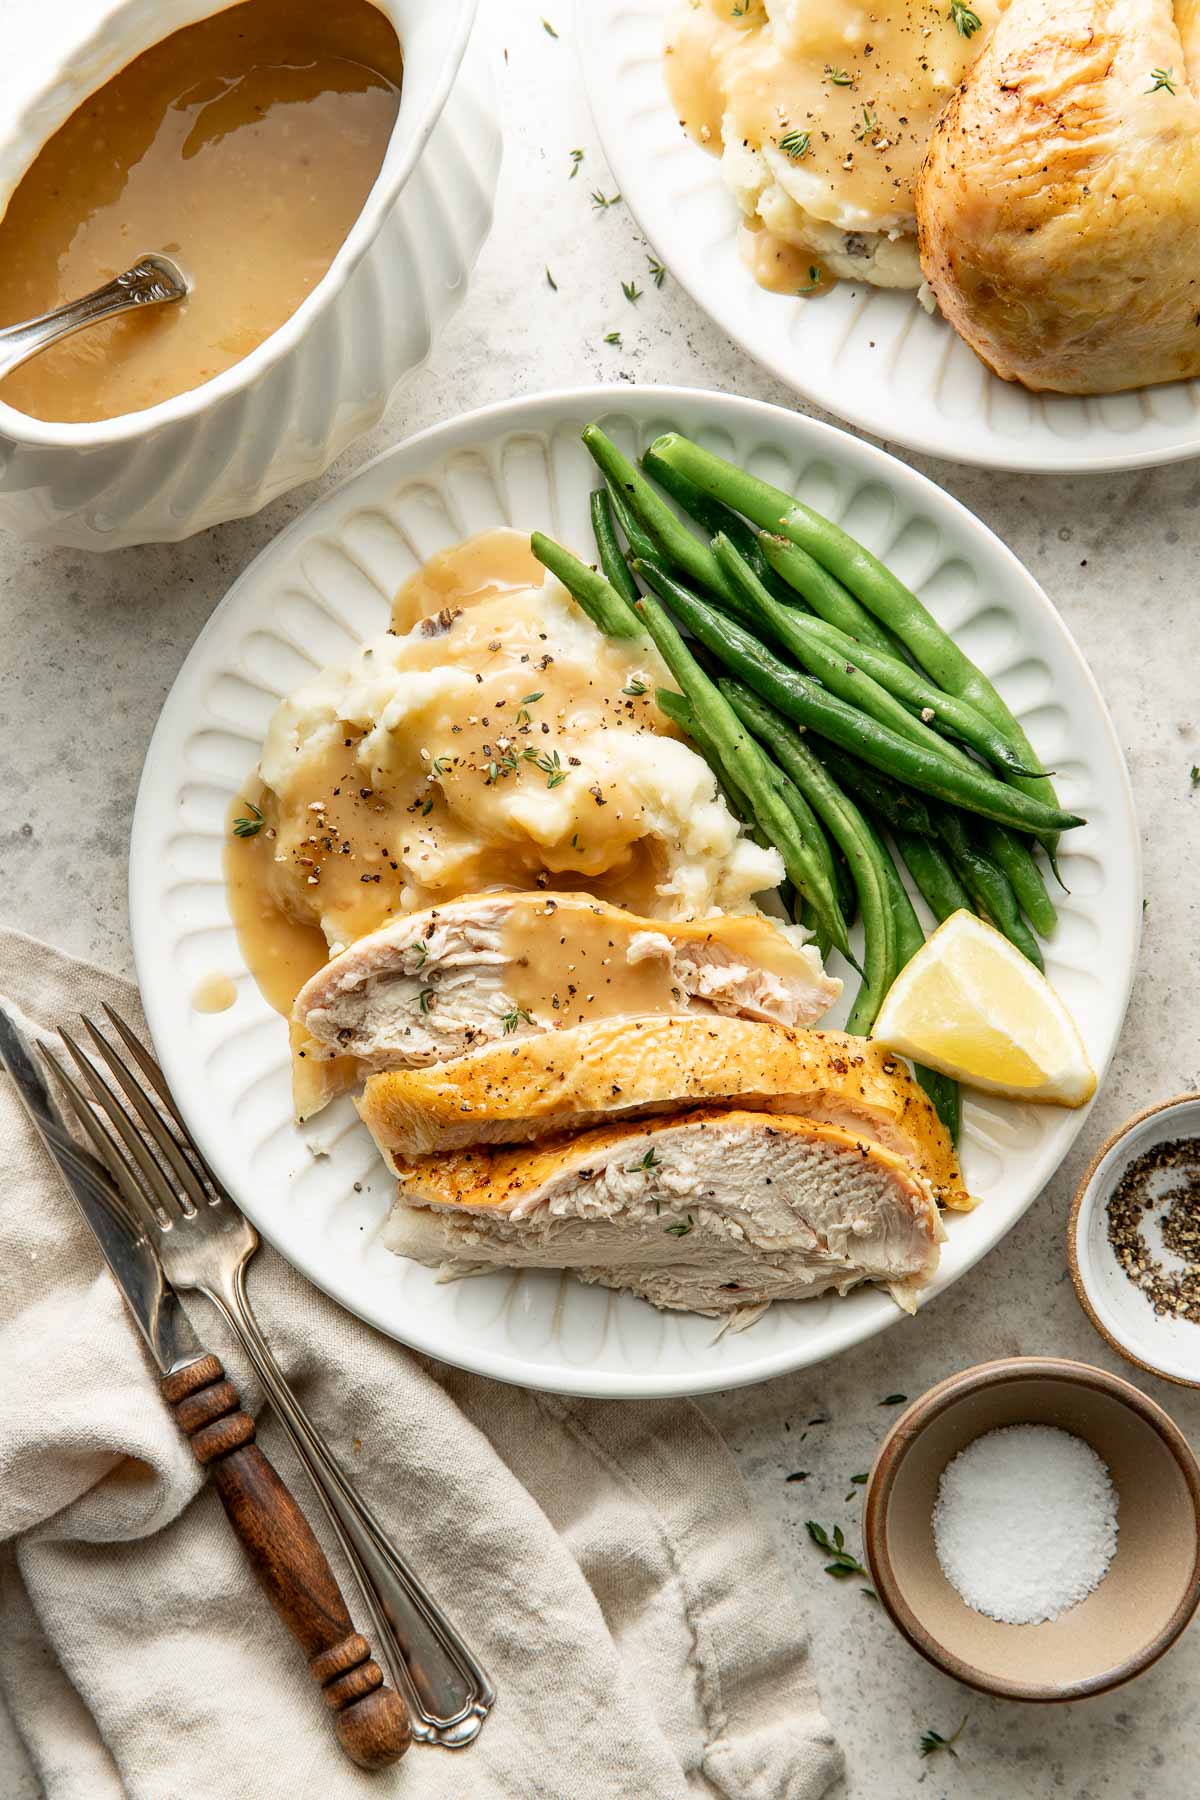
If I can resist eating all the onions, I like to carve the baked chicken and serve it on a large platter with the roasted onions and garlic spooned right on top. Then I drizzle everything with a little of the pan juices or gravy for a simple meal that feels elevated.
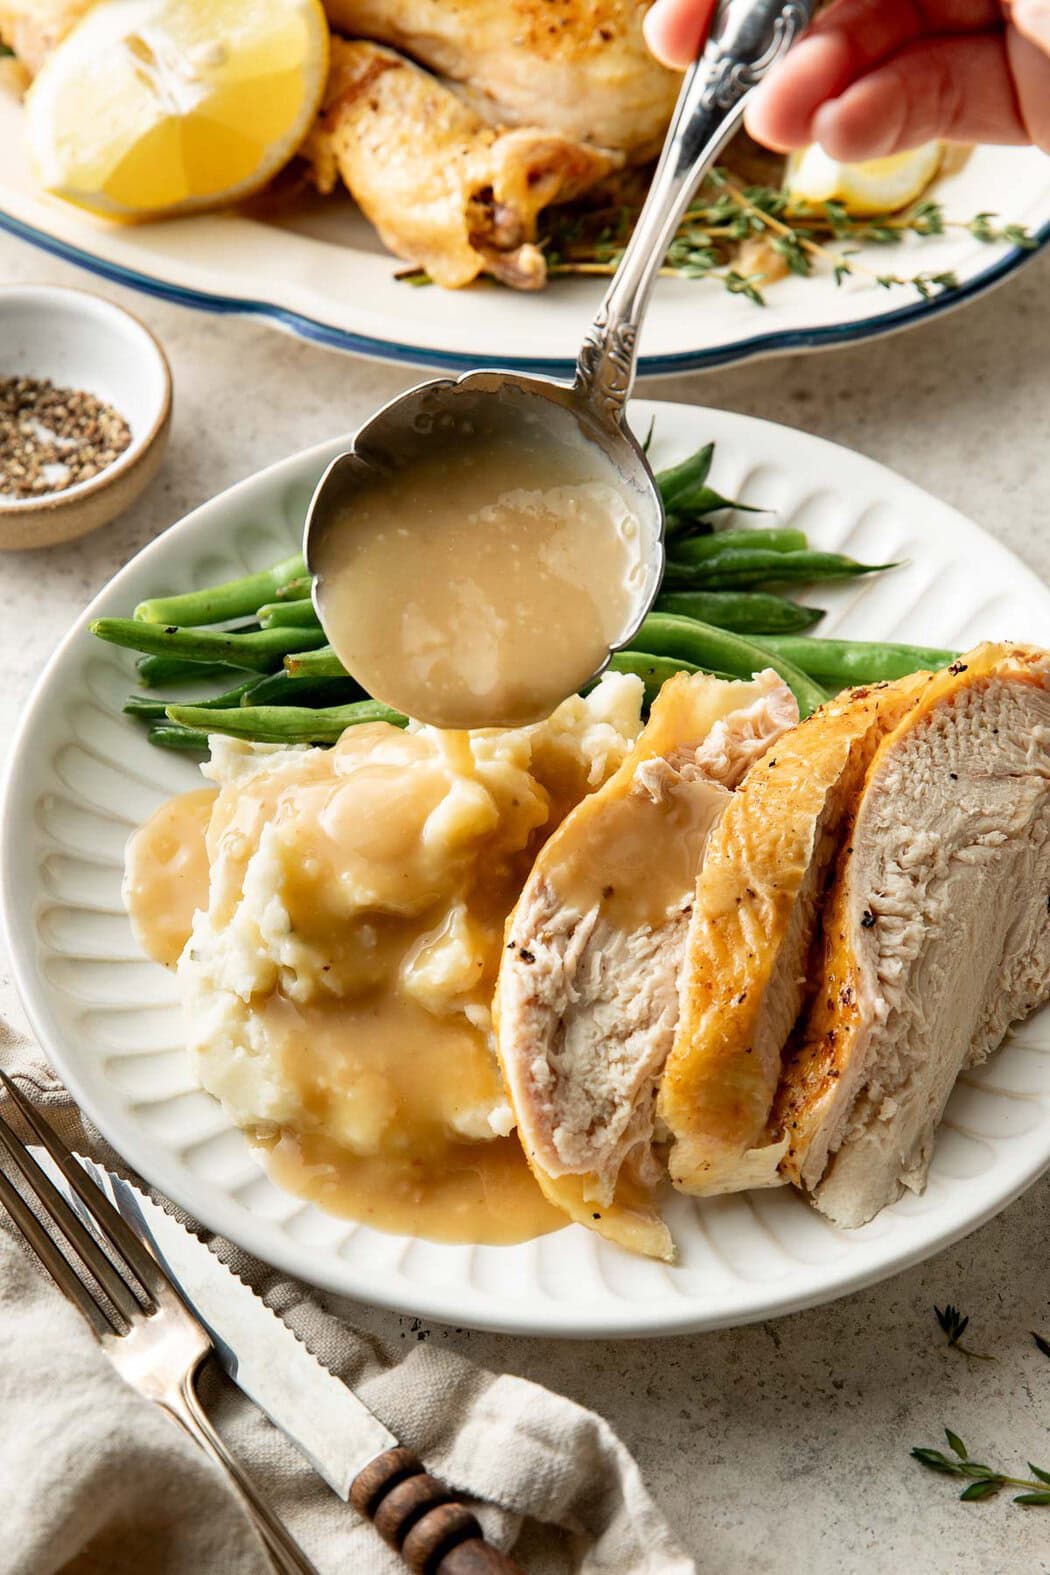
I think roasted chicken always tastes great with potatoes in any form. So, to round out my family’s plates, I include classic comfort food sides like Instant Pot mashed potatoes, mashed sweet potatoes, Parmesan roasted potatoes, or crispy smashed red potatoes. Then, I add a veggie side dish like sautéed green beans, candied carrots, or honey roasted vegetables.
Use Leftovers For Weekly Meal Prep
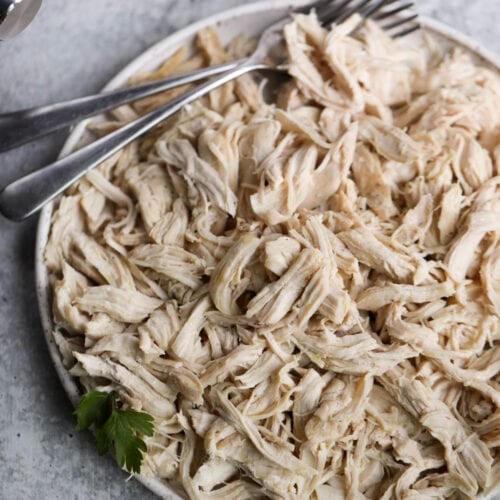
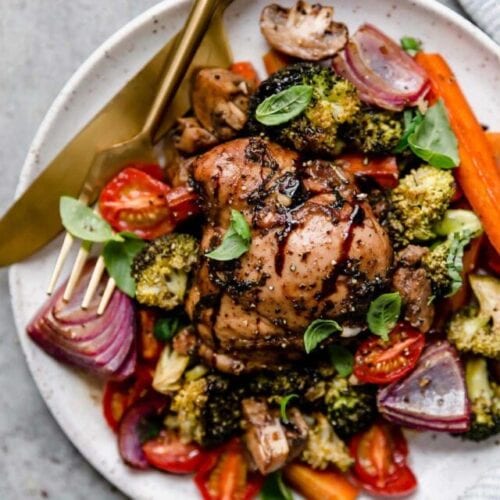
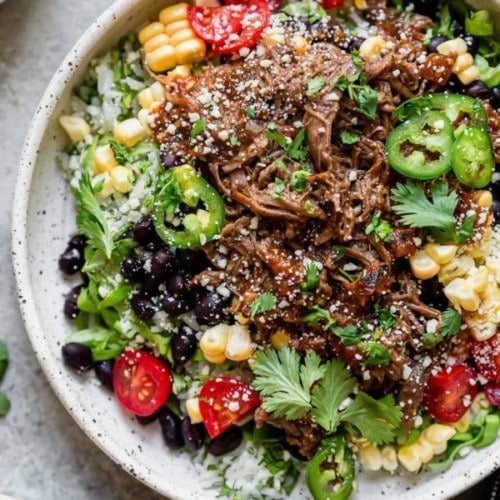
I shred or slice the leftover whole roasted chicken meat to add to salads, wraps, or grain bowls. Leftover chicken also works well incorporated into my dill pickle chicken salad or paired with roasted veggies and brown rice or sheet pan crispy rice for quick lunches or simple dinners.
I always save the bones and carcass, too, using them to make a batch of homemade bone broth made in my Instant Pot or in the slow cooker. The to use in soups, casseroles, and slow cooker recipes.
Storage Instructions
Store leftover roasted chicken in an airtight container in the refrigerator for up to 4 days. For the best results, I keep the chicken separate from the gravy and store both in separate sealed containers.
To freeze, remove the meat from the bones, and place the pulled chicken in a freezer-safe container or zip-top bag for up to 3 months. For extra moisture, add a little broth before freezing. Thaw overnight in the refrigerator before reheating.To serve, warm the chicken gently in the oven at 300°F or in a cast-iron skillet over medium-low heat with a splash of broth to keep it from drying out. Or, enjoy the chicken cold. The gravy can be reheated on the stovetop, adding a little broth or water if needed to loosen it.
More Of My Favorite Chicken Recipes
Want to save this recipe?
Enter your email below & we’ll send it straight to your inbox. Plus you’ll get great new recipes from us every week!
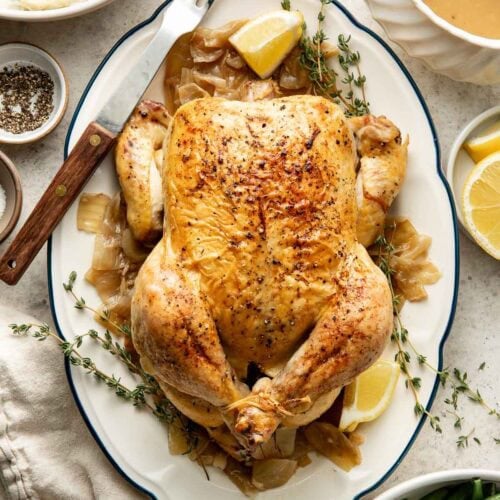
Whole Oven-Roasted Chicken Recipe
This whole roasted chicken is simple, comforting, and packed with flavor, thanks to a bed of caramelized onions and garlic. With quick prep time and an optional gravy made from the pan drippings, it’s the perfect go-to for holiday celebrations, Sunday dinners, and easy weekly meal prep.
Ingredients
- 1 whole chicken (about 3 ½ – 4 lbs)
- 1 medium yellow onion, cut into large chunks and pieces separated
- 4 cloves garlic, peeled and smashed
- 2 teaspoons olive oil or avocado oil
- ½ teaspoon fine salt
- ¼ teaspoon black pepper
- ½ cup chicken broth or water
- Optional: ½ medium lemon + several sprigs fresh herbs
For The Optional Gravy:
- ⅓ cup drippings from the pan
- 2 tablespoons flour
- 1 cup chicken broth
- ⅛ teaspoon fine salt or more to taste
- ⅛ teaspoon black pepper or more to taste
Instructions
- Preheat the oven to 350°F.
- Remove all packaging from the chicken and pat the chicken dry with paper towels.
- Place the onion and garlic in the bottom of a Dutch oven, large oven-safe skillet, baking pan, or roasting pan.
- Place the chicken in the pan on top of the onions.
- Using your hands, rub the chicken all over with the oil. Sprinkle it with the salt and pepper.
- If using the lemon and herbs, tuck those into the cavity of the chicken. (Optional: Tuck the wings underneath the chicken and use kitchen twine to tie the legs together.)
- Add the ½ cup broth or water to the pan around the chicken, and place the chicken in the oven, uncovered. Bake for 20 minutes per pound or until an instant-read thermometer inserted into the thickest part of the breast reads 165°F. For example, for a 4-pound chicken, the bake time will be about 1 hour and 20 minutes.
- Start checking the chicken for doneness 10-15 minutes before the estimated time is up.
- When the chicken is done, remove the chicken to a cutting board, cover loosely with foil and allow it to rest for 10 minutes before slicing.
- Slice or pull the chicken from the bones and serve it with the optional gravy, if desired.
- Store leftovers in an airtight container in the fridge for up to 4 days or freeze for up to 3 months.
To Make The Optional Gravy:
- Remove the onions and garlic from the pan (these can be served alongside the chicken, if desired, or saved to add to the bones if making bone broth).
- Pour the drippings from the pan into a small measuring cup and allow to sit for a few minutes. Once the fat and watery layer (the drippings) have separated, use a measuring spoon to remove and discard as much of the fat as possible from the top of the drippings. Measure out ⅓ cup of the drippings.
- Place the pan used to roast the chicken over medium heat (or use a saucepan). Add the ⅓ cup drippings.
- When the drippings are hot, sprinkle the 2 tablespoons flour over the drippings and whisk until it makes a paste-like mixture.
- Continue whisking until the flour mixture is a golden brown color, about 2 minutes.
- Slowly add the 1 cup broth while whisking constantly.
- Continue cooking the gravy until it thickens, 5 to 7 minutes. If the gravy is too thick, add a little more broth. If the gravy is too thin, continue to cook for another 2-3 minutes.
- Add the salt and pepper, then taste and adjust seasonings as desired. Serve gravy with the chicken.
Last Step! Please leave a review and rating letting us know how you liked this recipe! This helps our business thrive so we can continue providing free recipes and high-quality content for you.
Notes
For gluten free gravy, use 1-to-1 gluten-free flour in place of the all-purpose flour.
Nutrition Information
- Serving Size: ⅙ of the chicken or ~5 ½ ounces skinless white and dark chicken without gravy
- Calories: 260
- Fat: 9 g
- (Sat Fat: 2 g)
- Sodium: 510 mg
- Carbohydrate: 0 g
- (Fiber: 0 g
- Sugar: 0 g)
- Protein: 42 g
- Cholesterol: 176 mg
Dietary
The photos in this post were taken by Megan McKeehan.
For ultimate success, we highly recommend reading the tips in the full blog post above. All photos and content are copyright protected. Please do not use our photos without prior written permission. If you wish to republish a recipe, please rewrite the recipe in your own unique words. Link back to the source recipe here on The Real Food Dietitians. Thank you!
Easy to prepare and chicken was moist.
Perfect, Donna! Thanks for the 5-star review!